Make an onboarding kit
Explore how to make an onboarding kit with AssetLoom
If every new employee receives the same set of devices and software, you don’t need to assign them manually each time. An Onboarding Kit in AssetLoom lets you bundle common IT resources and automatically assign them when a new team member is added.
In AssetLoom, an Onboarding Kit is created through the Predefined Kits feature. When a predefined kit is marked as an Onboarding Kit, it will automatically be assigned to new users.
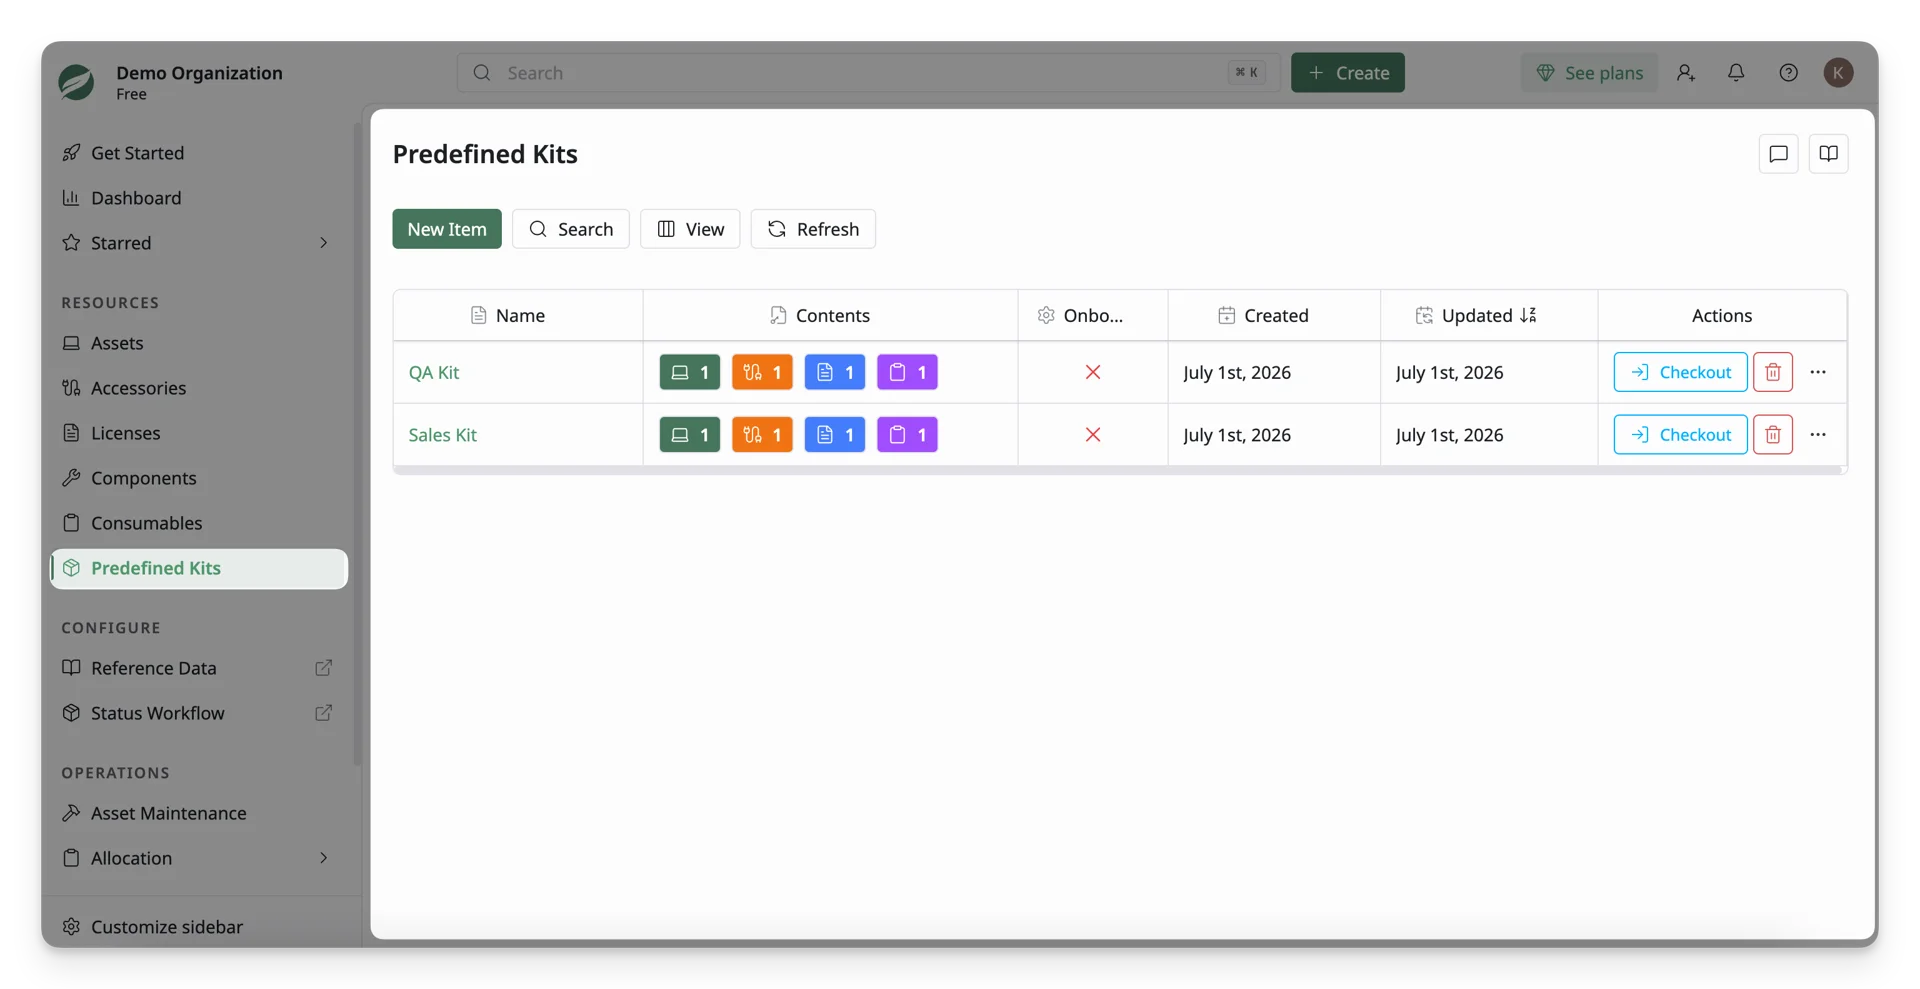
A typical onboarding bundle for your team might include:
- A Laptop (e.g., MacBook Pro 14”)
- A Monitor (e.g., Dell 27” 4K Monitor)
- A Keyboard (e.g., Apple Magic Keyboard)
- A Mouse (e.g., Logitech Master 3)
- A Software License (e.g., Microsoft 365 Business Standard)
- An Accessory (e.g., Docking Station)
- A Consumable (e.g., MacBook 14” Sleeve)
With AssetLoom’s Onboarding Kit, when a new employee is added to the site, these items are automatically assigned to them.
Make sure:
- The items you want to include already exist in your workspace
- There are available assets that can be checked out
- Accessories, licenses, and consumables included in your kit must have sufficient stock
How to Create an Onboarding Kit?
1: Create a Predefined Kit and Enable Onboarding
- In the left menu, click Predefined Kit to access the feature.
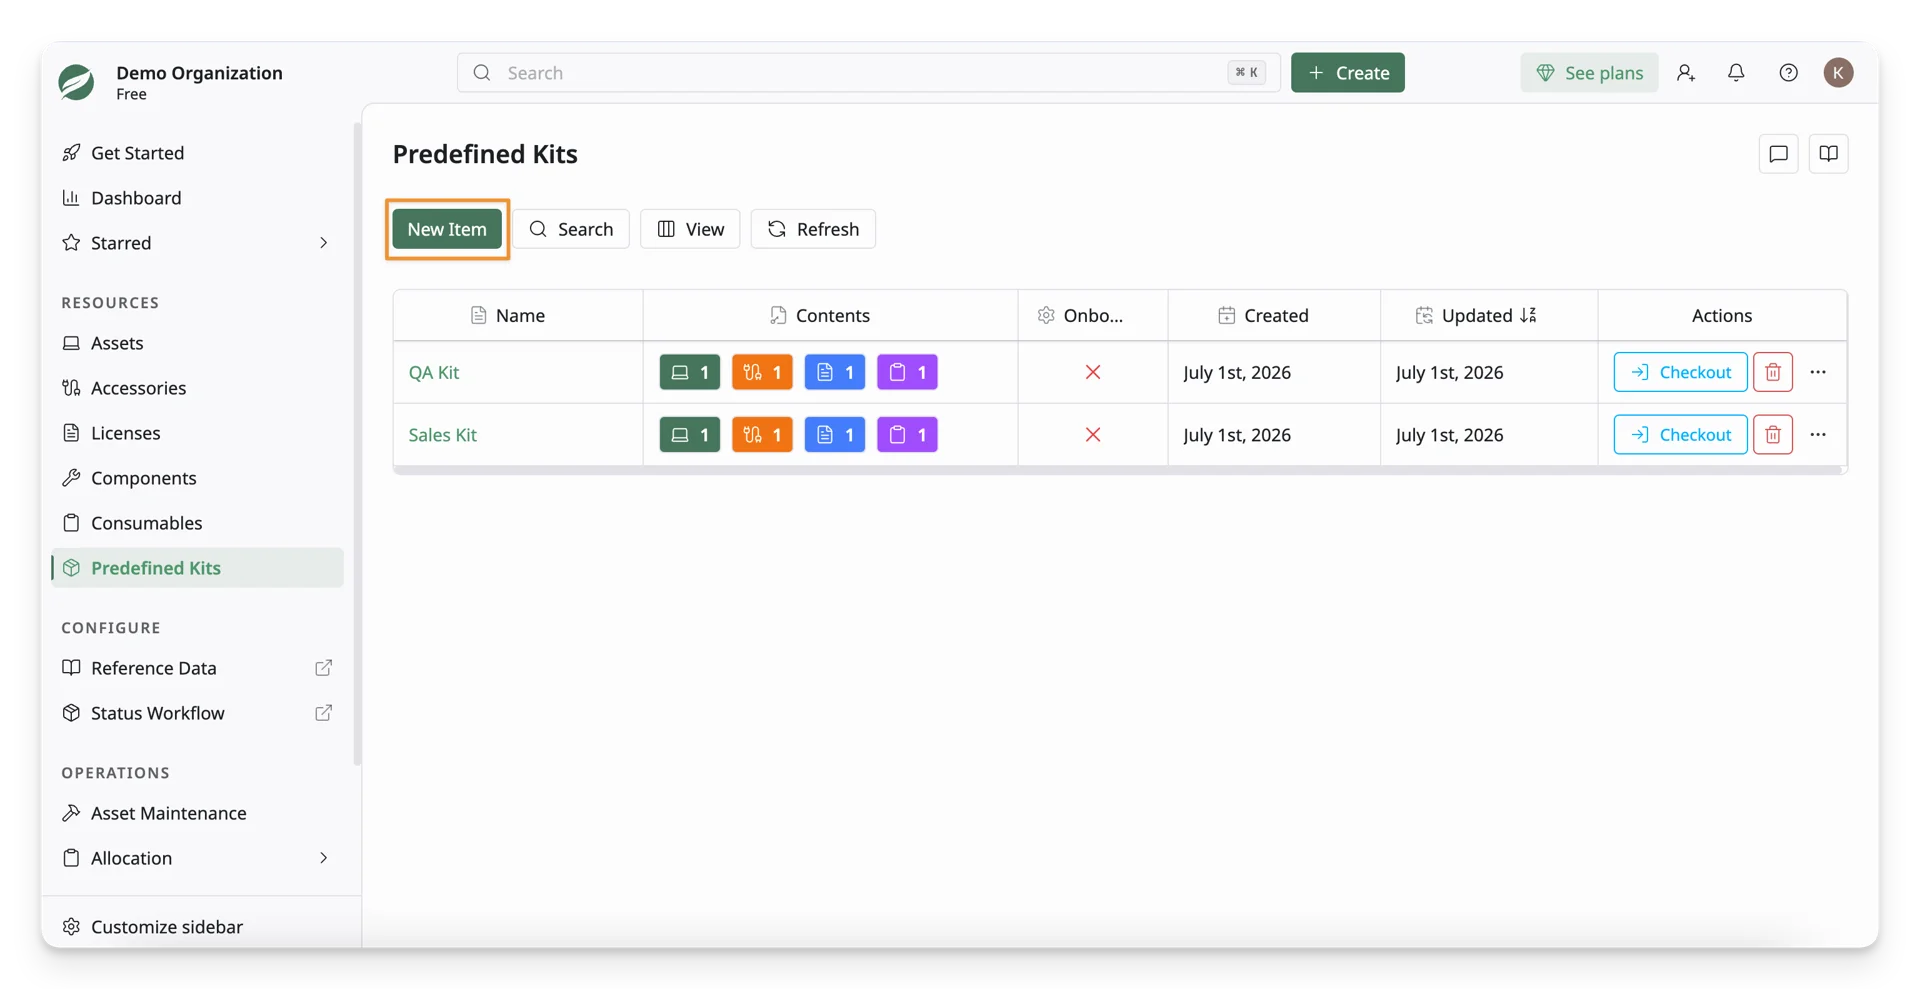
- Click + New Item to create a new predefined kit.
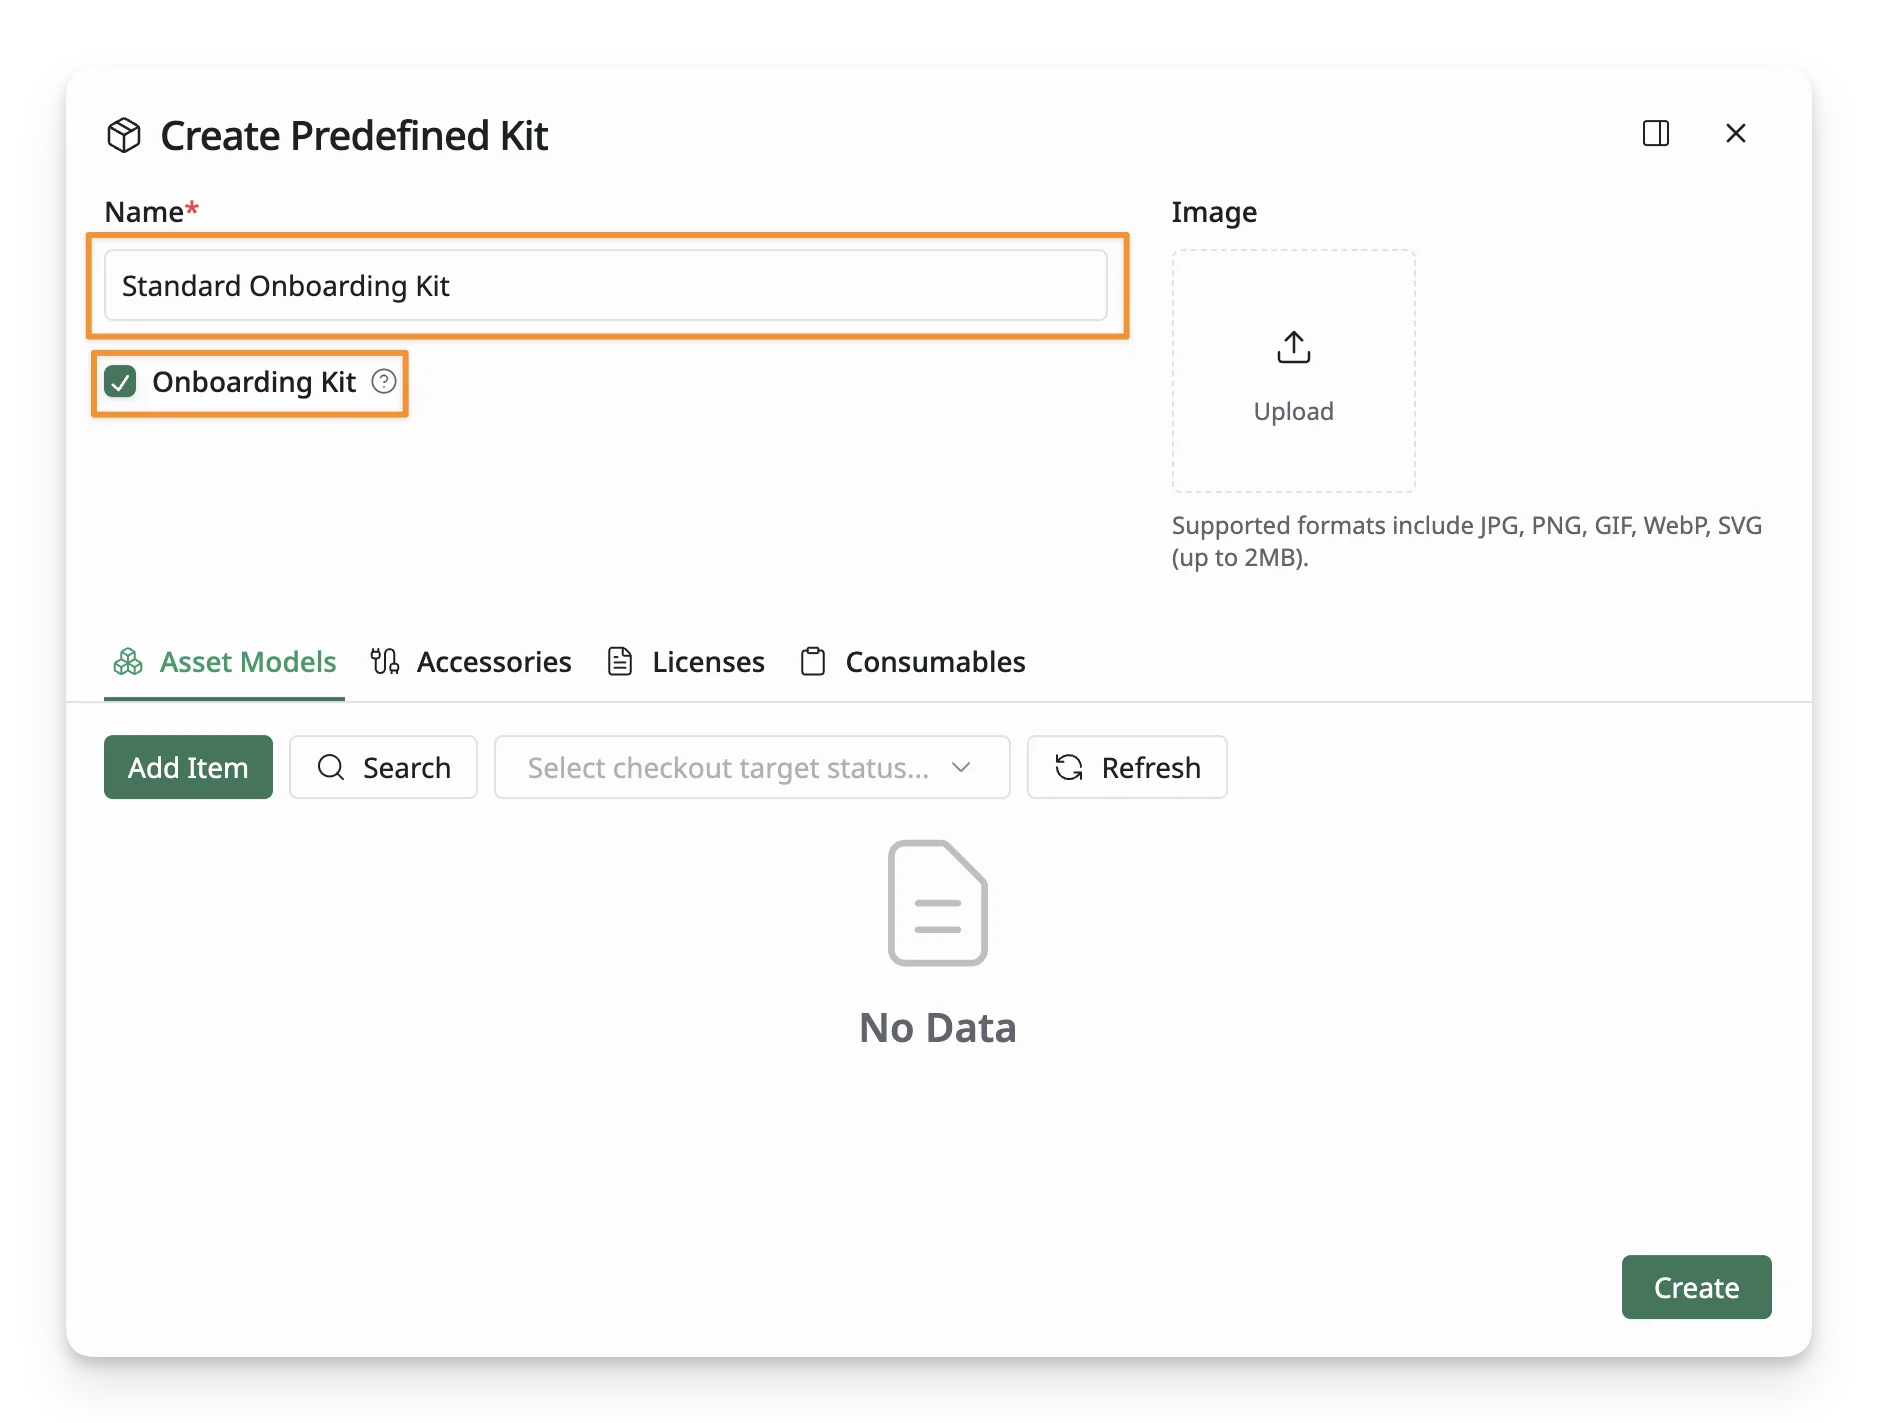
- At the Create Predefined Kit dialog, enter a Kit Name (e.g., Standard Office Onboarding) and upload an image for it if necessary.
- Enable the Onboarding Kit toggle. When enabled, this kit will automatically be checked out to newly activated users.
2: Add Items to the Kit
AssetLoom allows you to add resources from different resource types to create a complete bundle. The available resource types are:
- Asset Models: Select one or more asset models to add to the kit. The app will automatically check out the available asset(s) under the selected model(s).
- Accessories: Select one or more accessories to include in the kit.
- Licenses: Select one or more licenses to add to the kit.
- Consumables: Select one or more consumables to include in the kit.
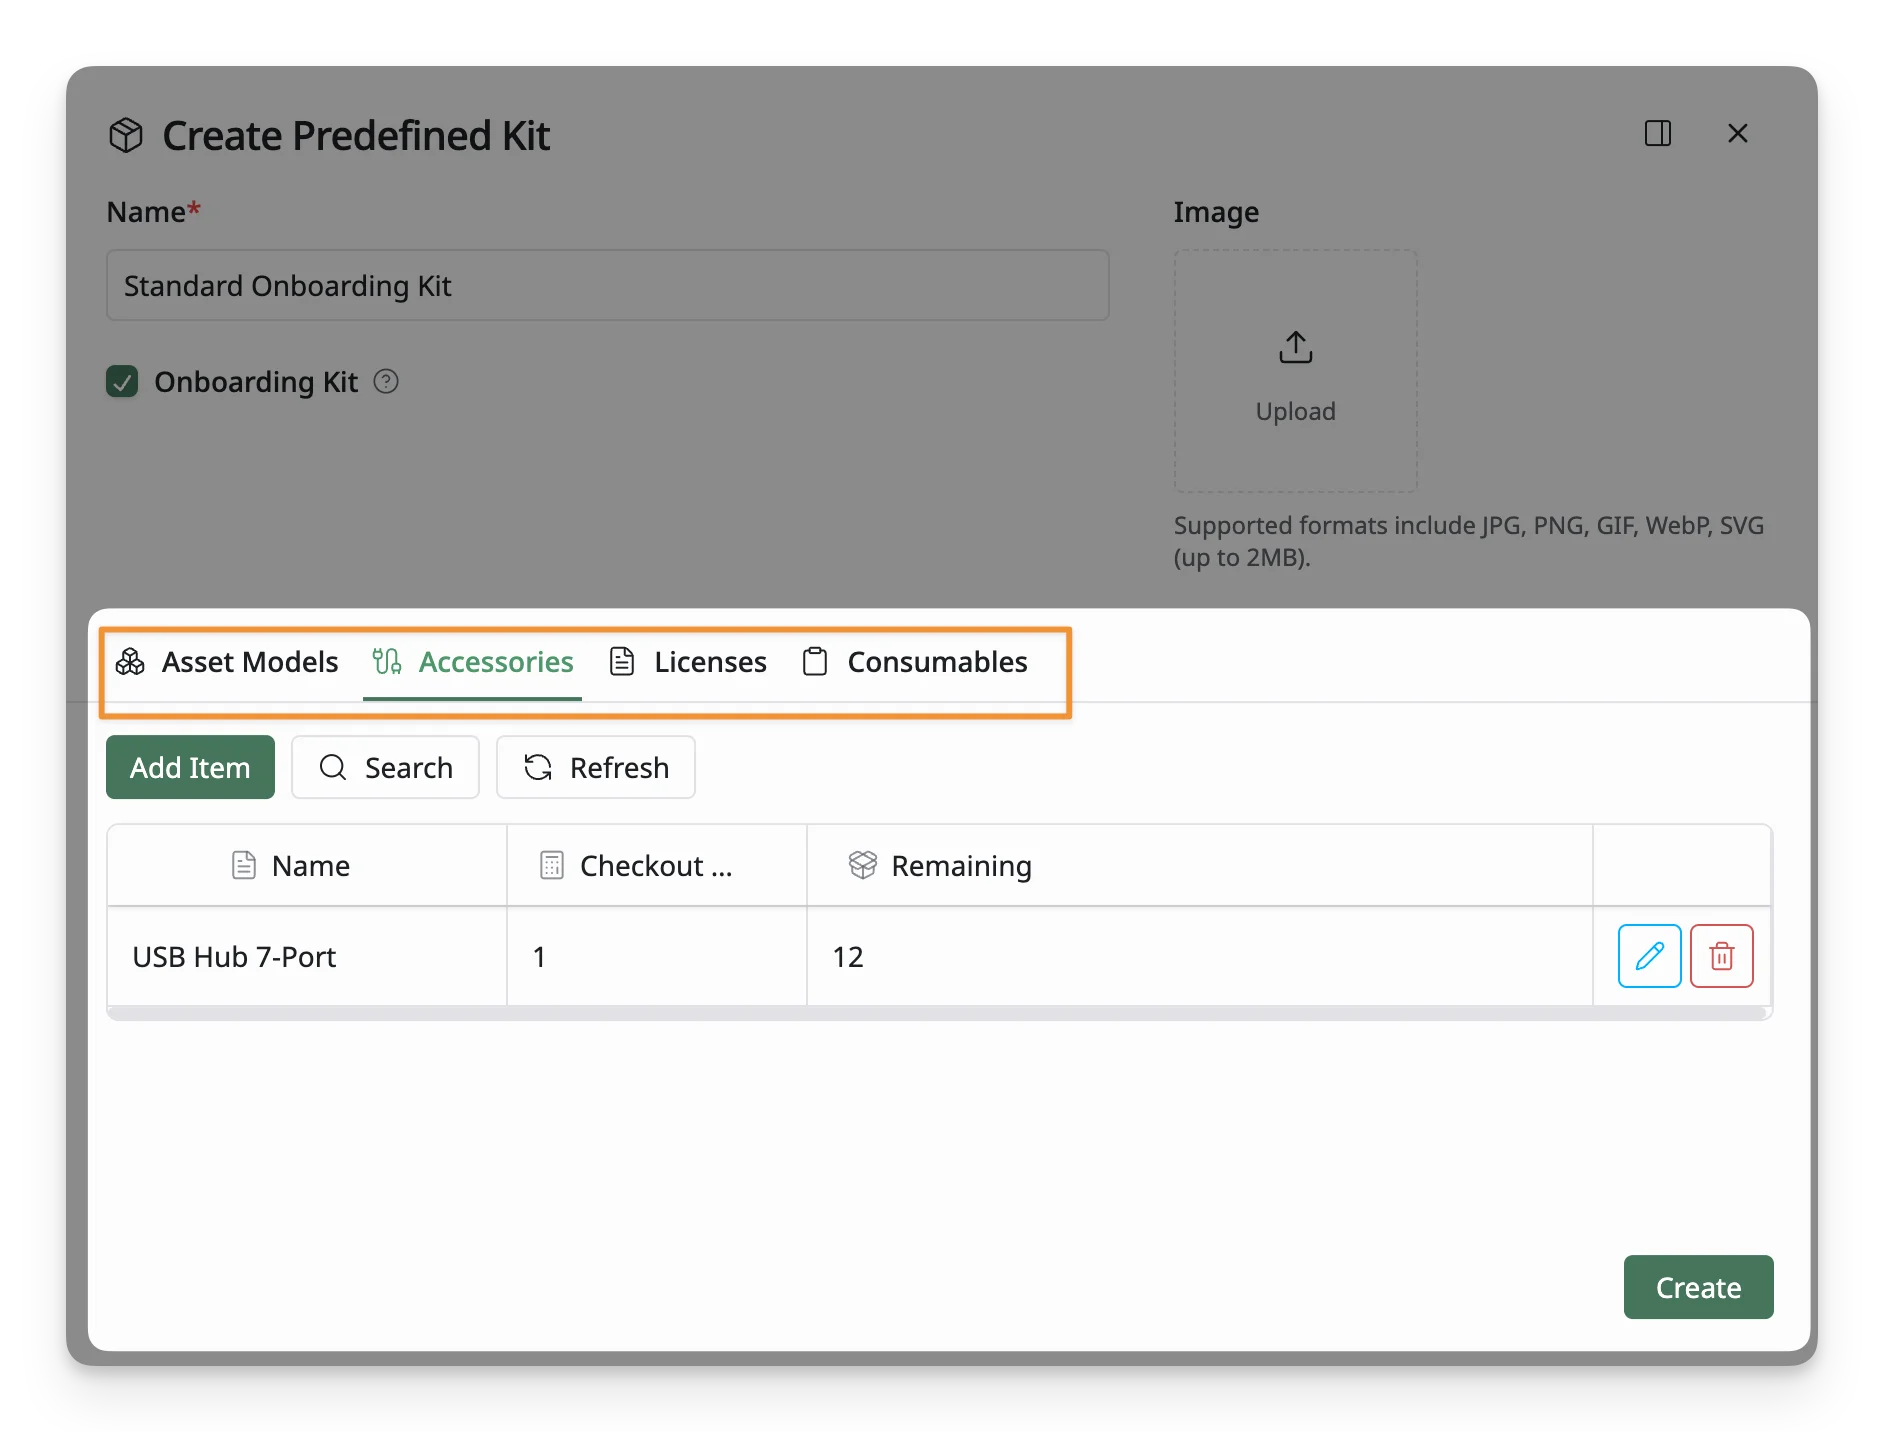
For each item:
- Click Add Item
- Search and select the resource(s)
- Set the Checkout Quantity
- Click Confirm to finish adding items
3: Save the Kit
Once you’ve added all the desired items to the kit, click Create.
Your onboarding kit is now ready. Every time you successfully add a new team member to your site, this kit will automatically be assigned to them.
What’s Next?
- Manage access and visibility: Control who can see and manage specific items using roles and permissions.