Install and Authorize Network Scanner
Learn how to install AssetLoom Network Scanner, complete the required authorization, and prepare it to scan devices on your network.
Install the Network Scanner
You can access the AssetLoom Free Network Scanner page to view the available versions and download the scanner version that matches your operating system and processor:
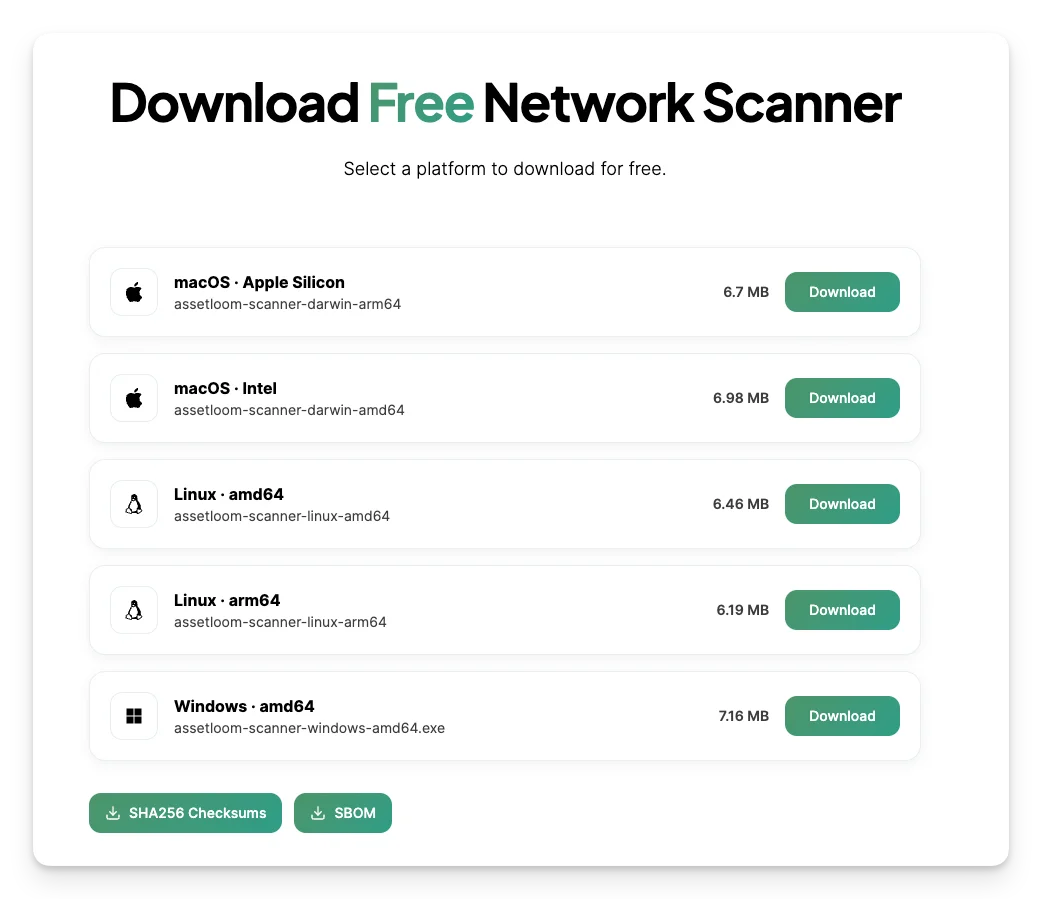
- macOS · Apple Silicon: For Macs with Apple M-series chips.
- macOS · Intel: For Macs with Intel processors.
- Linux · amd64: For 64-bit Linux devices using Intel or AMD processors.
- Linux · arm64: For 64-bit Linux devices using ARM processors.
- Windows · amd64: For most 64-bit Windows PCs using Intel or AMD processors.
The downloaded Network Scanner file is an executable file that runs as a command-line tool. You will run it using Terminal, PowerShell, or Command Prompt.
You can also download two optional files for security verification and compliance purposes:
- SHA256 Checksums: Download this checksum file to verify that the scanner binary you downloaded is complete and has not been modified.
- SBOM: Download the Software Bill of Materials to review the software components and dependencies included in the scanner build.
Authorize and Set Up the Scanner
Locate the scanner folder
After opening the command-line tool, use this prompt to navigate to the folder where you currently store the network scanner file.
cd folder-name/sub-folder/…
Example: If the Network Scanner file is saved in your Downloads folder, run:
cd Downloads

Rename the downloaded scanner file
You can rename the downloaded file to assetloom-scanner to make later commands shorter and easier to follow.
mv ./filename ./assetloom-scanner
This is an optional step. You can keep the original filename or change it to another name if you prefer.
Example: If your file name is assetloom-scanner-darwin-arm64, you can follow this format:
mv ./assetloom-scanner-darwin-arm64 ./assetloom-scanner
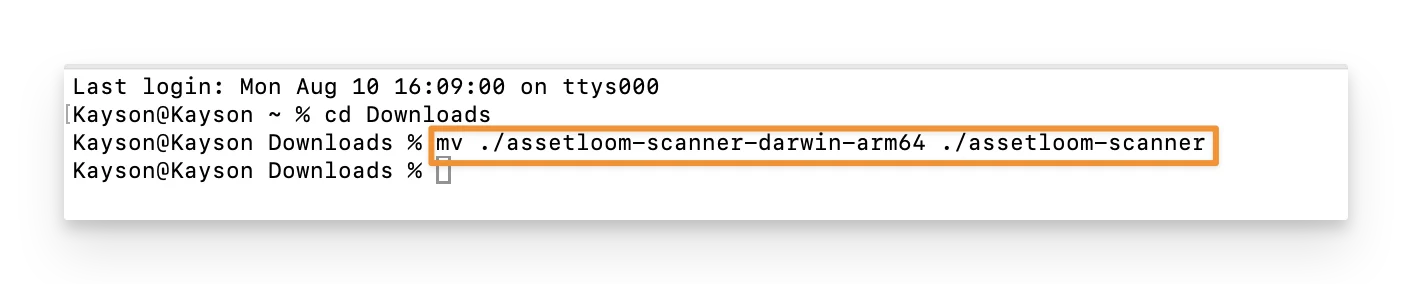
For Windows: Keep the .exe extension. For example, assetloom-scanner-windows-amd64.exe.
Give the scanner permission to run
This step is only for macOS and Linux. Windows does not need the chmod command.
On macOS and Linux, a downloaded binary may not automatically have permission to run as a program. Use this command to make the scanner file executable:
chmod +x ./assetloom-scanner
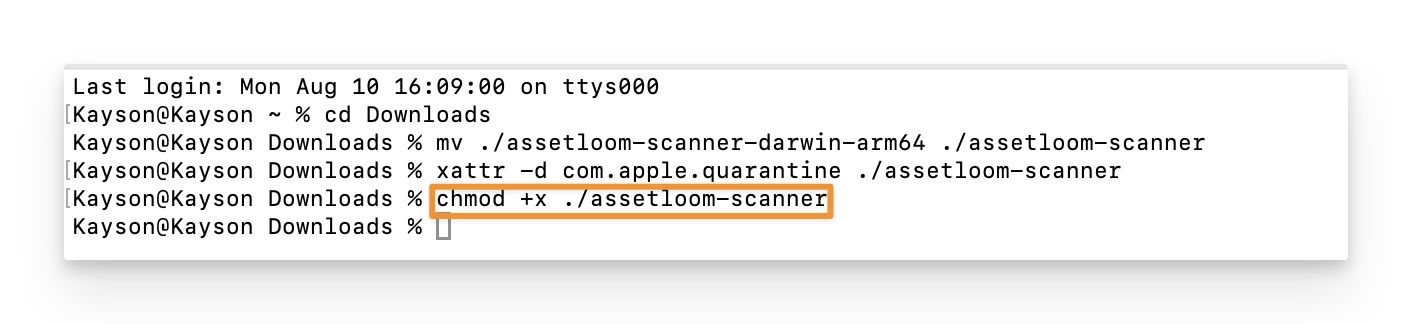
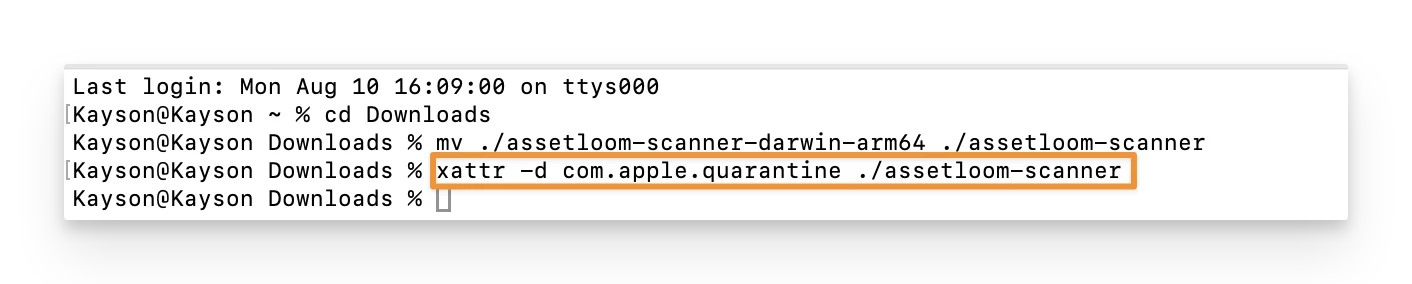
Sometimes, macOS will prevent the scanner from running because Gatekeeper marks files downloaded from the internet with a quarantine attribute. This is a built-in macOS security measure designed to protect your computer from untrusted software.
If you downloaded the scanner from the official AssetLoom source and macOS blocks it, remove the quarantine attribute with:
xattr -d com.apple.quarantine ./assetloom-scanner
Create the scanner configuration file
The scanner needs a configuration file to store your scan settings before you start scanning. You only need to create this file once, and you can update it later whenever your scan settings change.
Use the following command to create the configuration file:
- For macOS or Linux, add “sudo” to give the scanner permission to create or access files and use system-level network capabilities when needed:
sudo ./assetloom-scanner --config ./config.json --init-config
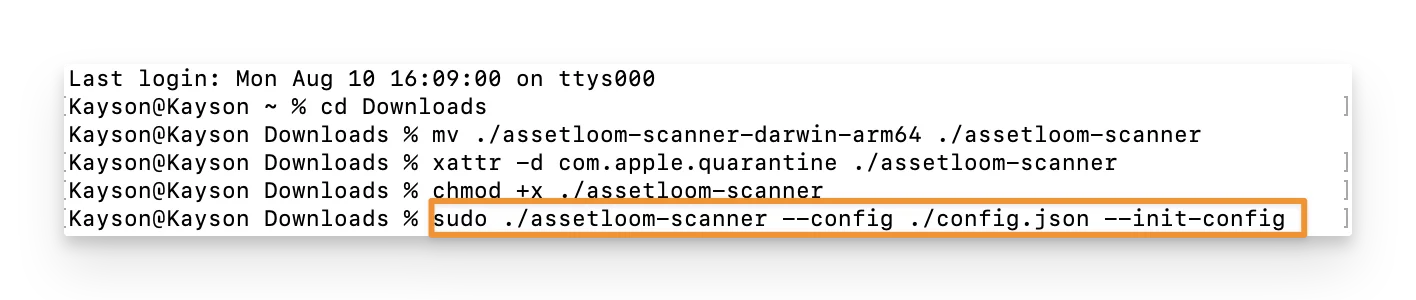
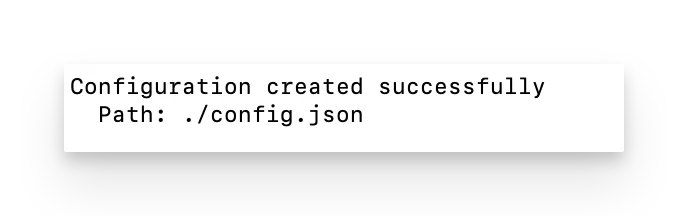
You will be required to enter your device password. After generating the config file successfully, you will see the message:
- For Windows, run the command below in PowerShell or Command Prompt :
.\assetloom-scanner.exe --config .\config.json --init-config
Now you have a config.json file used to configure scanning activities.
Creating the configuration file does not start a network scan. The scanner creates the file for you to review and to edit the scan options.