Custom Fields
Learn how to manage custom fields as one type of reference data
1. What Are Custom Fields
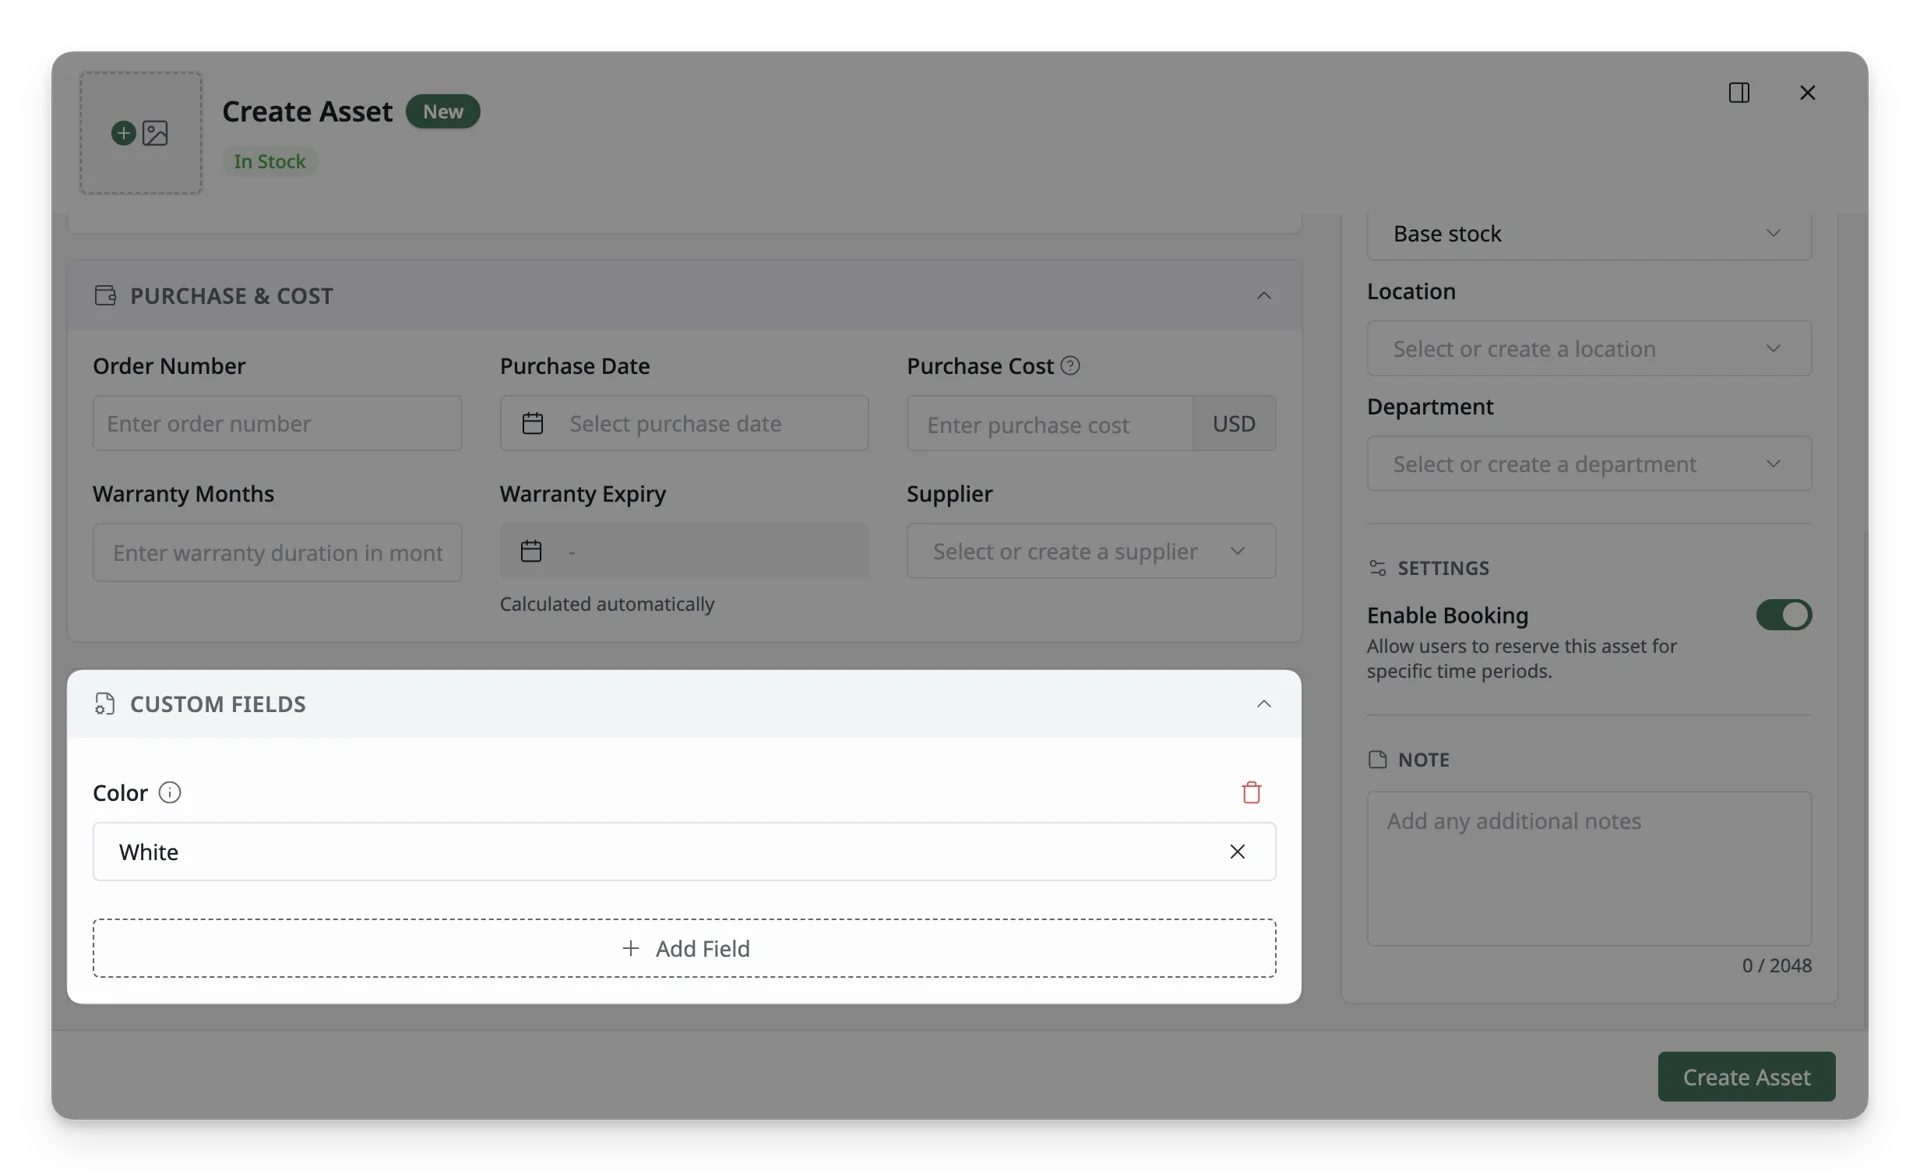
Custom Fields are one type of reference data that lets you add extra fields to assets, accessories, licenses, components, and consumables in AssetLoom. They help you capture organization-specific information that is not included in the default fields.
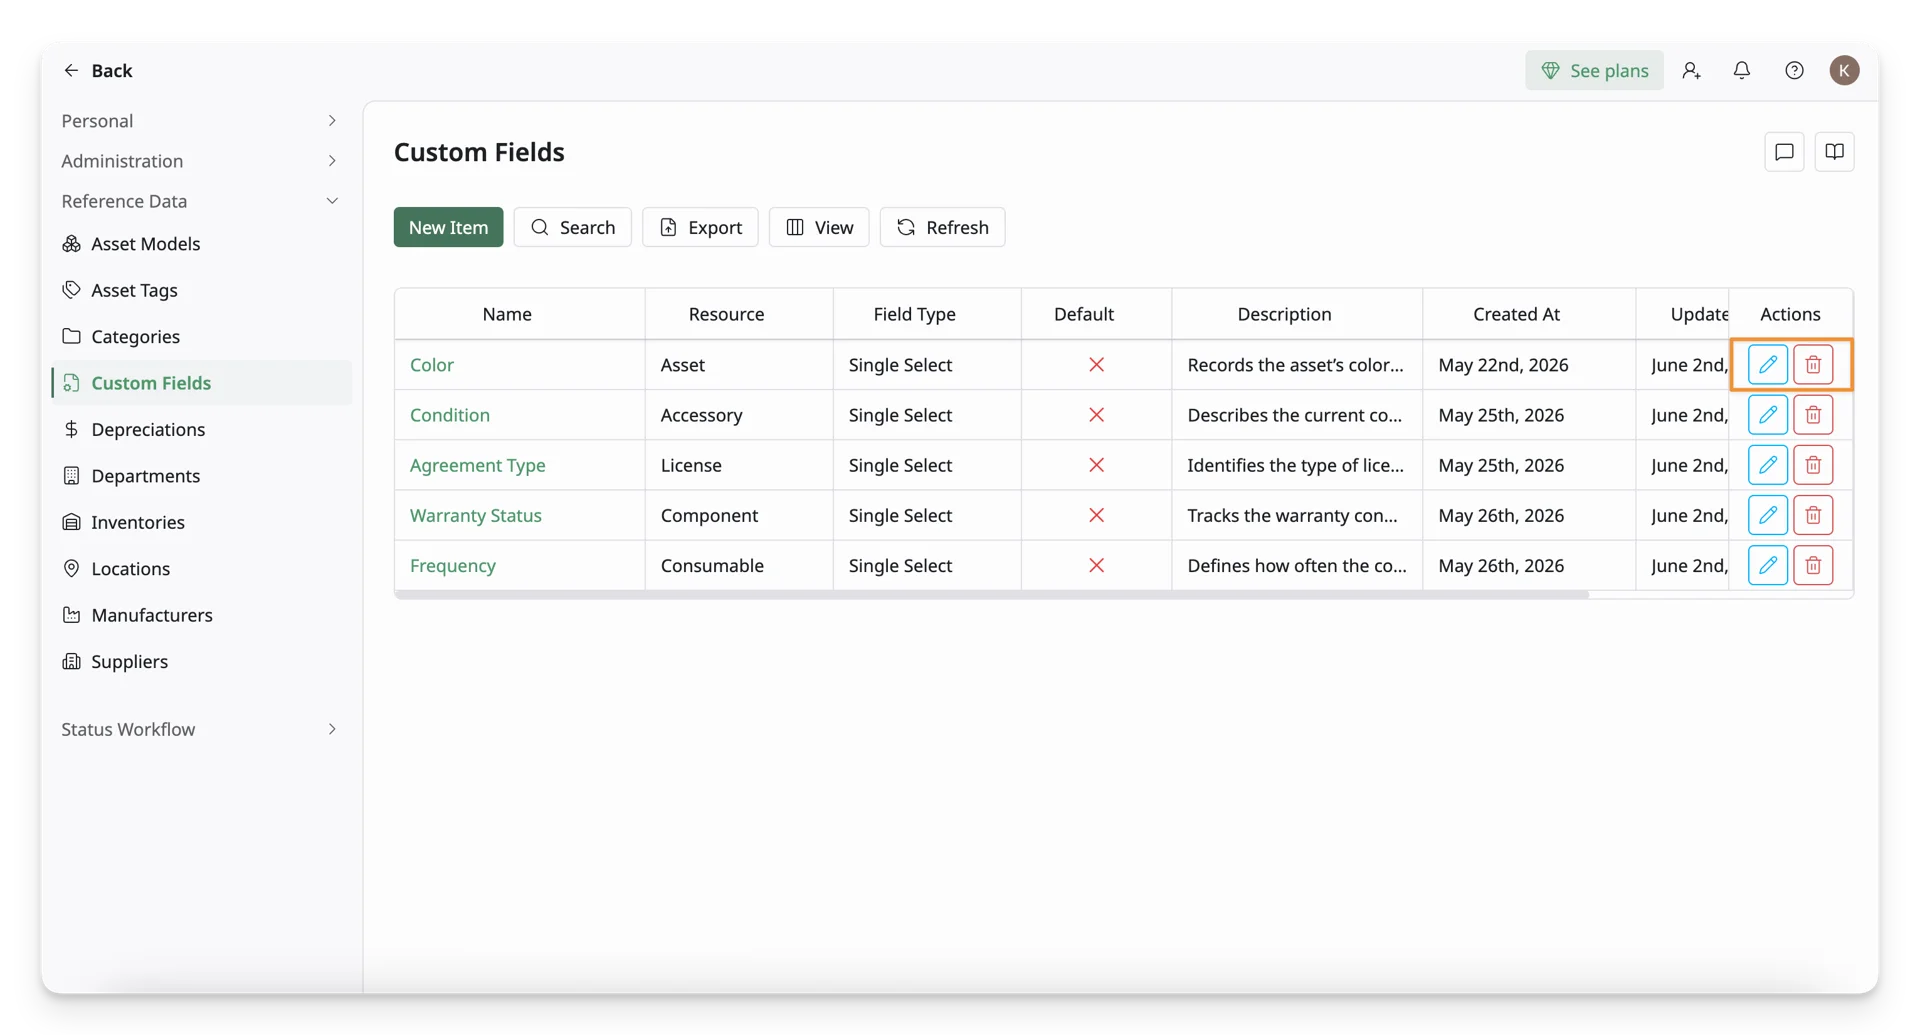
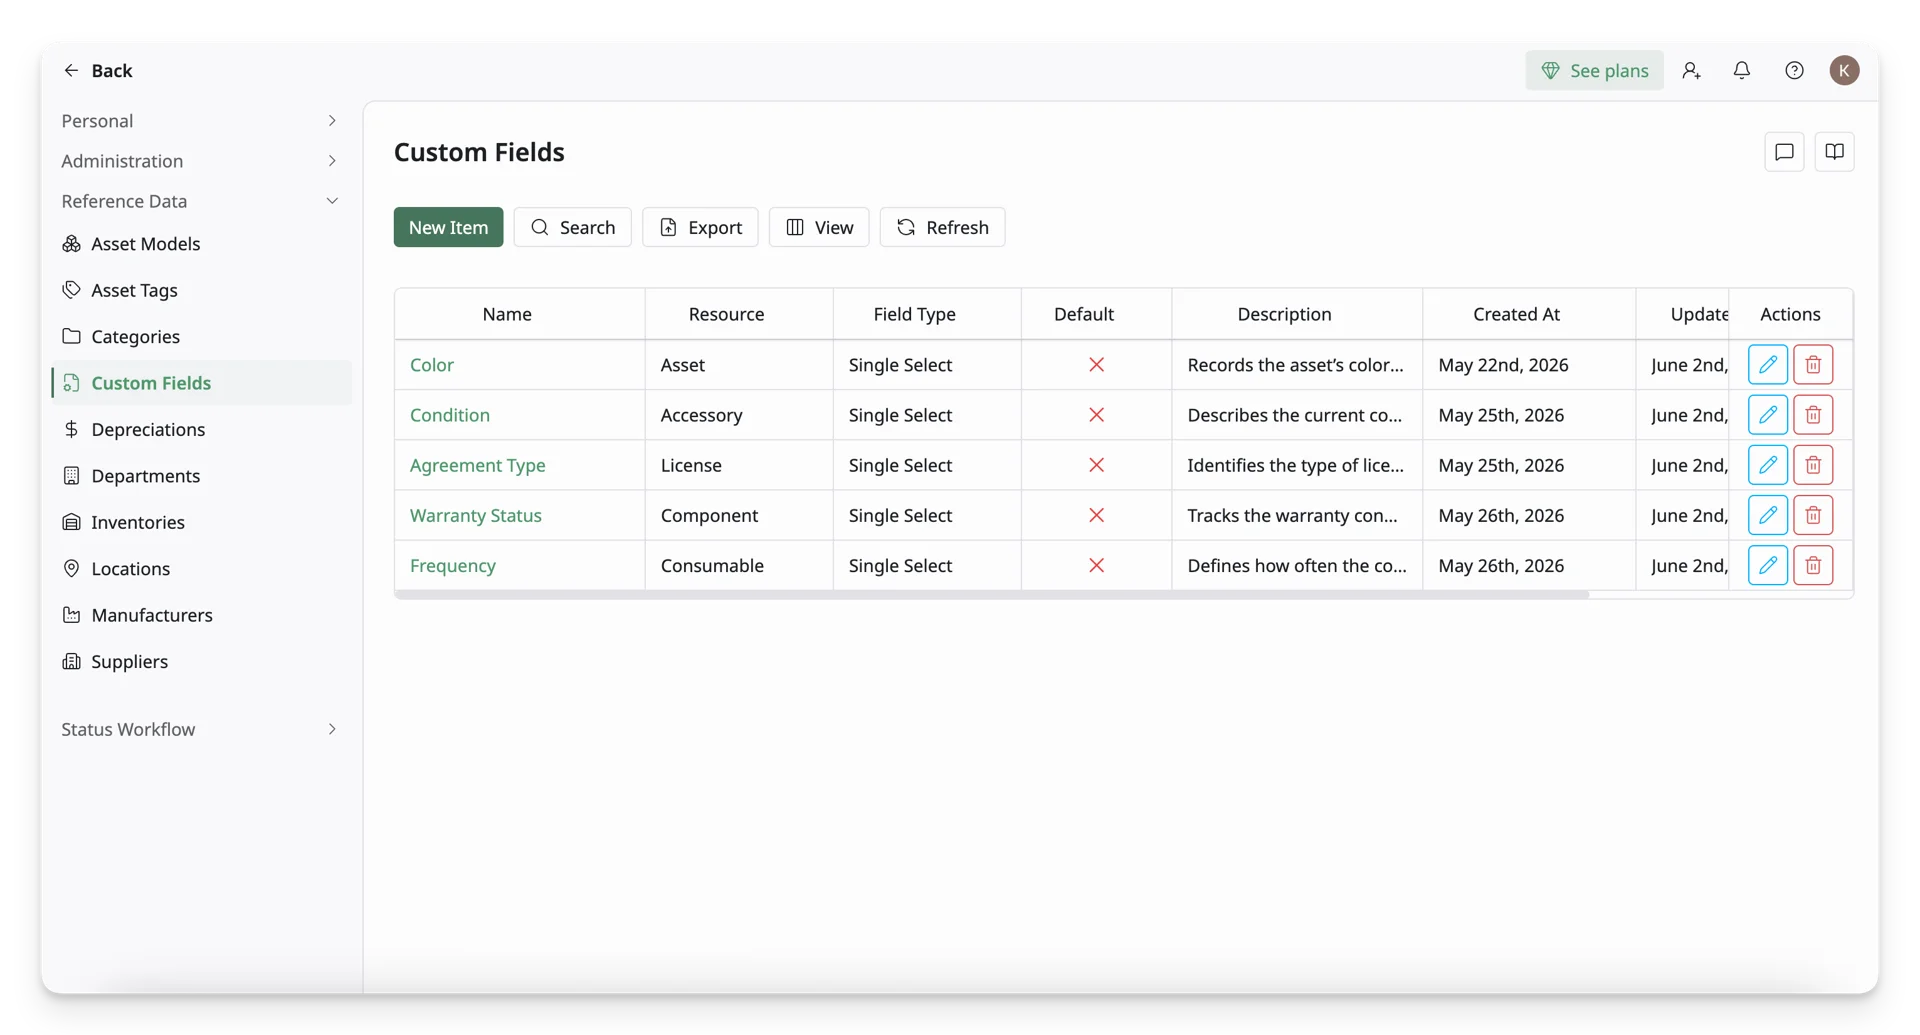
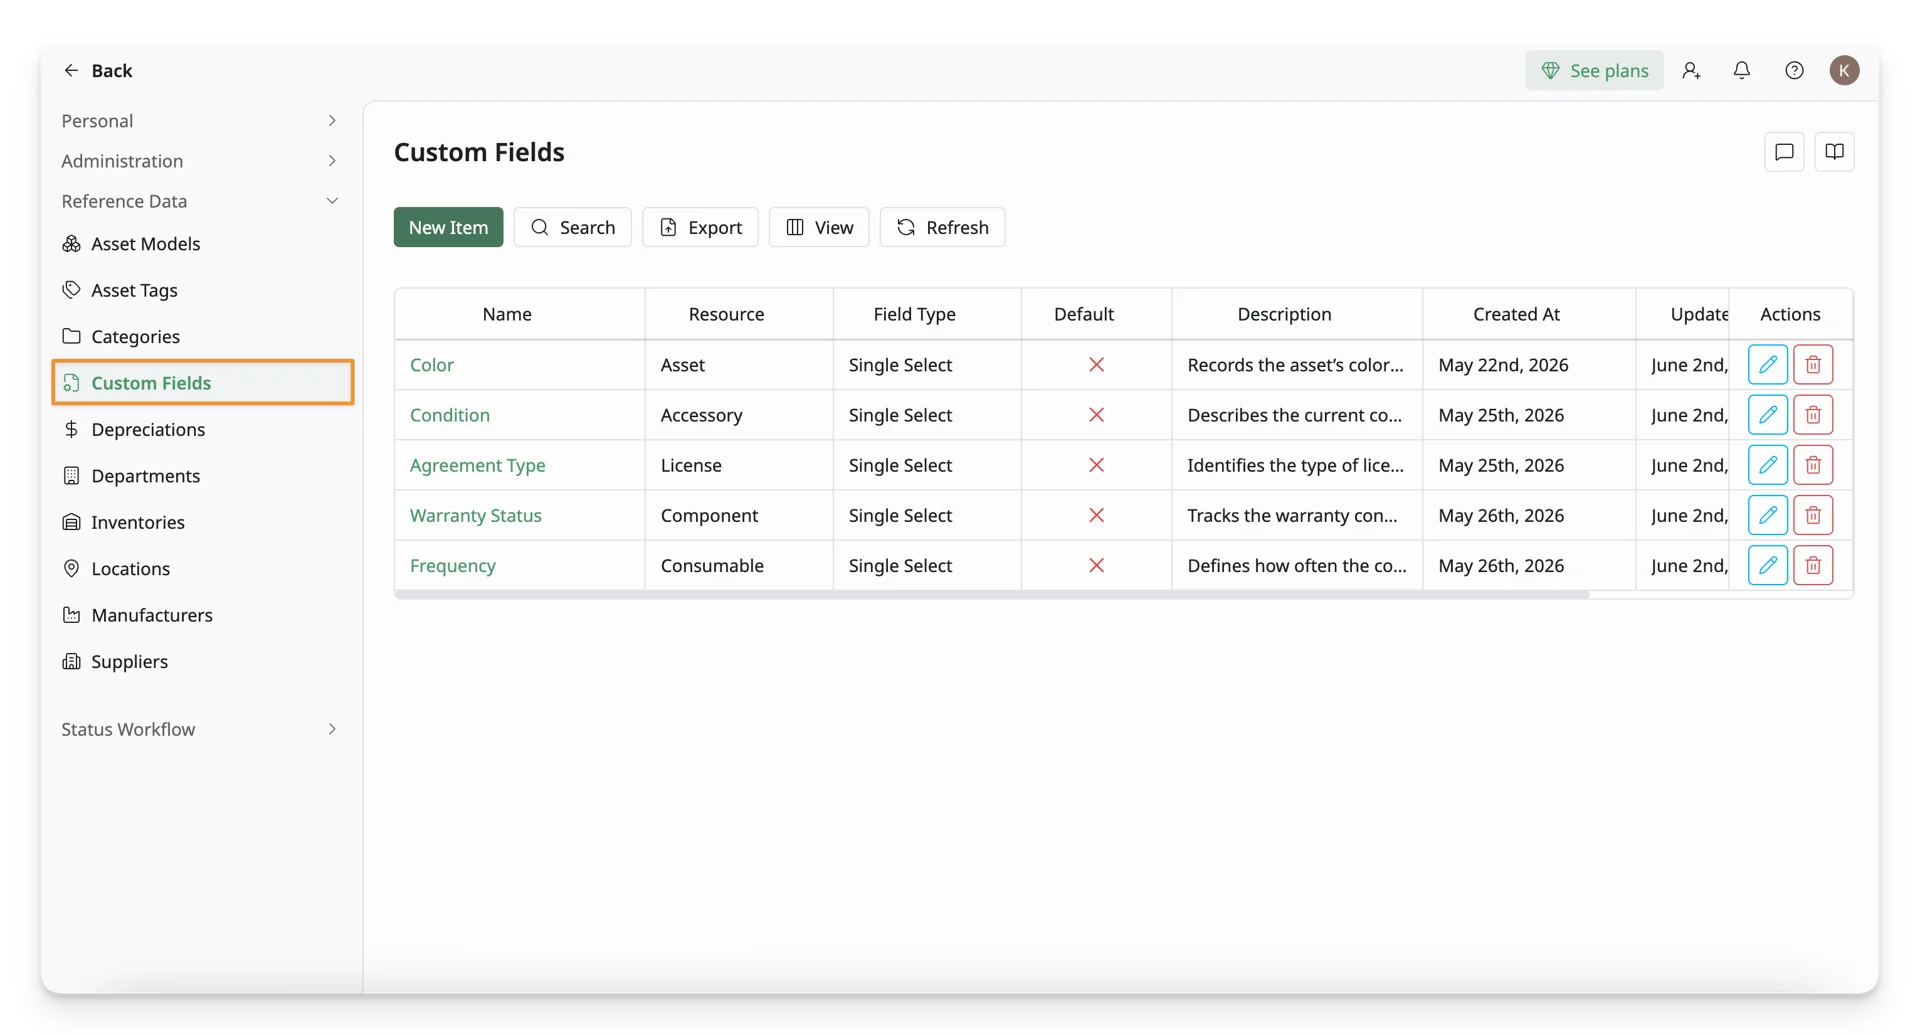
The Custom Field section is located under the Reference Data section in the Personal Settings page. This page displays all custom fields of all resource types in the system and serves as the central place for managing them.
2. How To Set Up Custom Fields
Step 1: Navigate To The Custom Field Screen
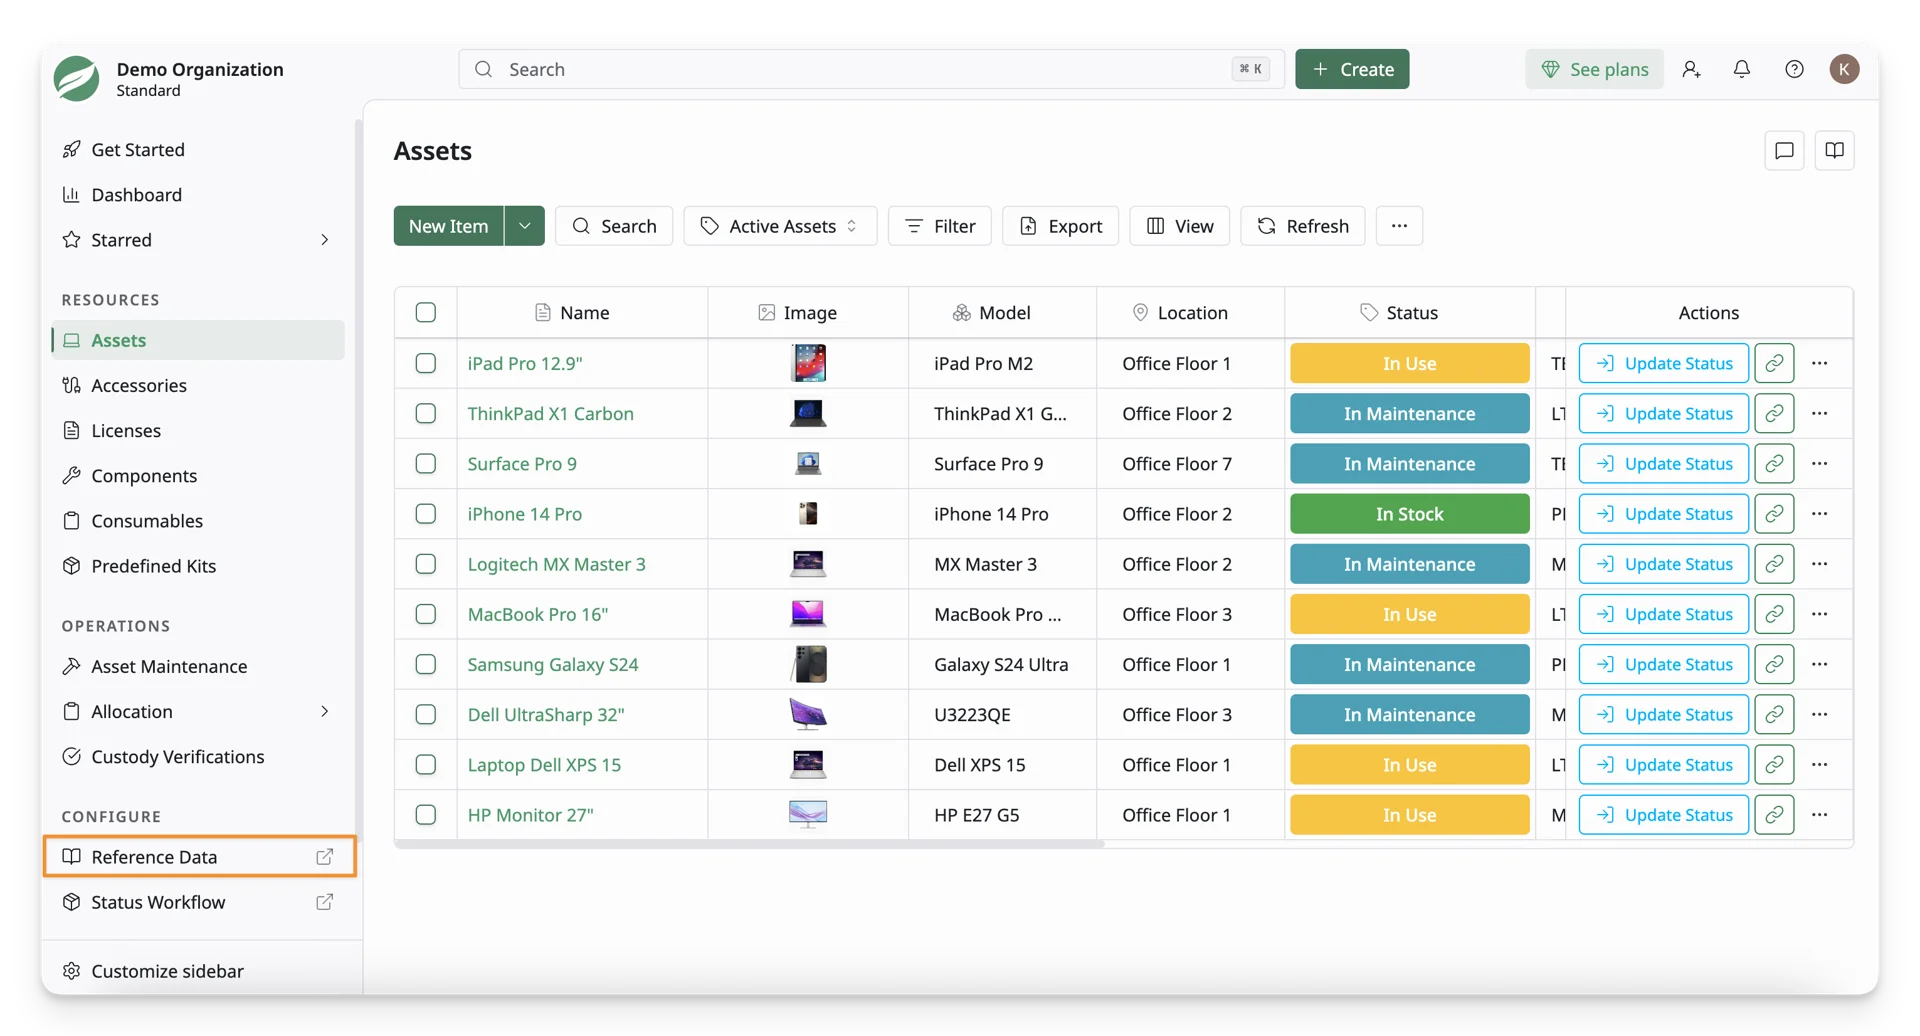
Select the Reference Data in the Configure section on the left-hand side menu sidebar.
On the left menu sidebar, you can view the Custom Fields under the Reference Data.
Step 2: Fill In The Custom Field Form
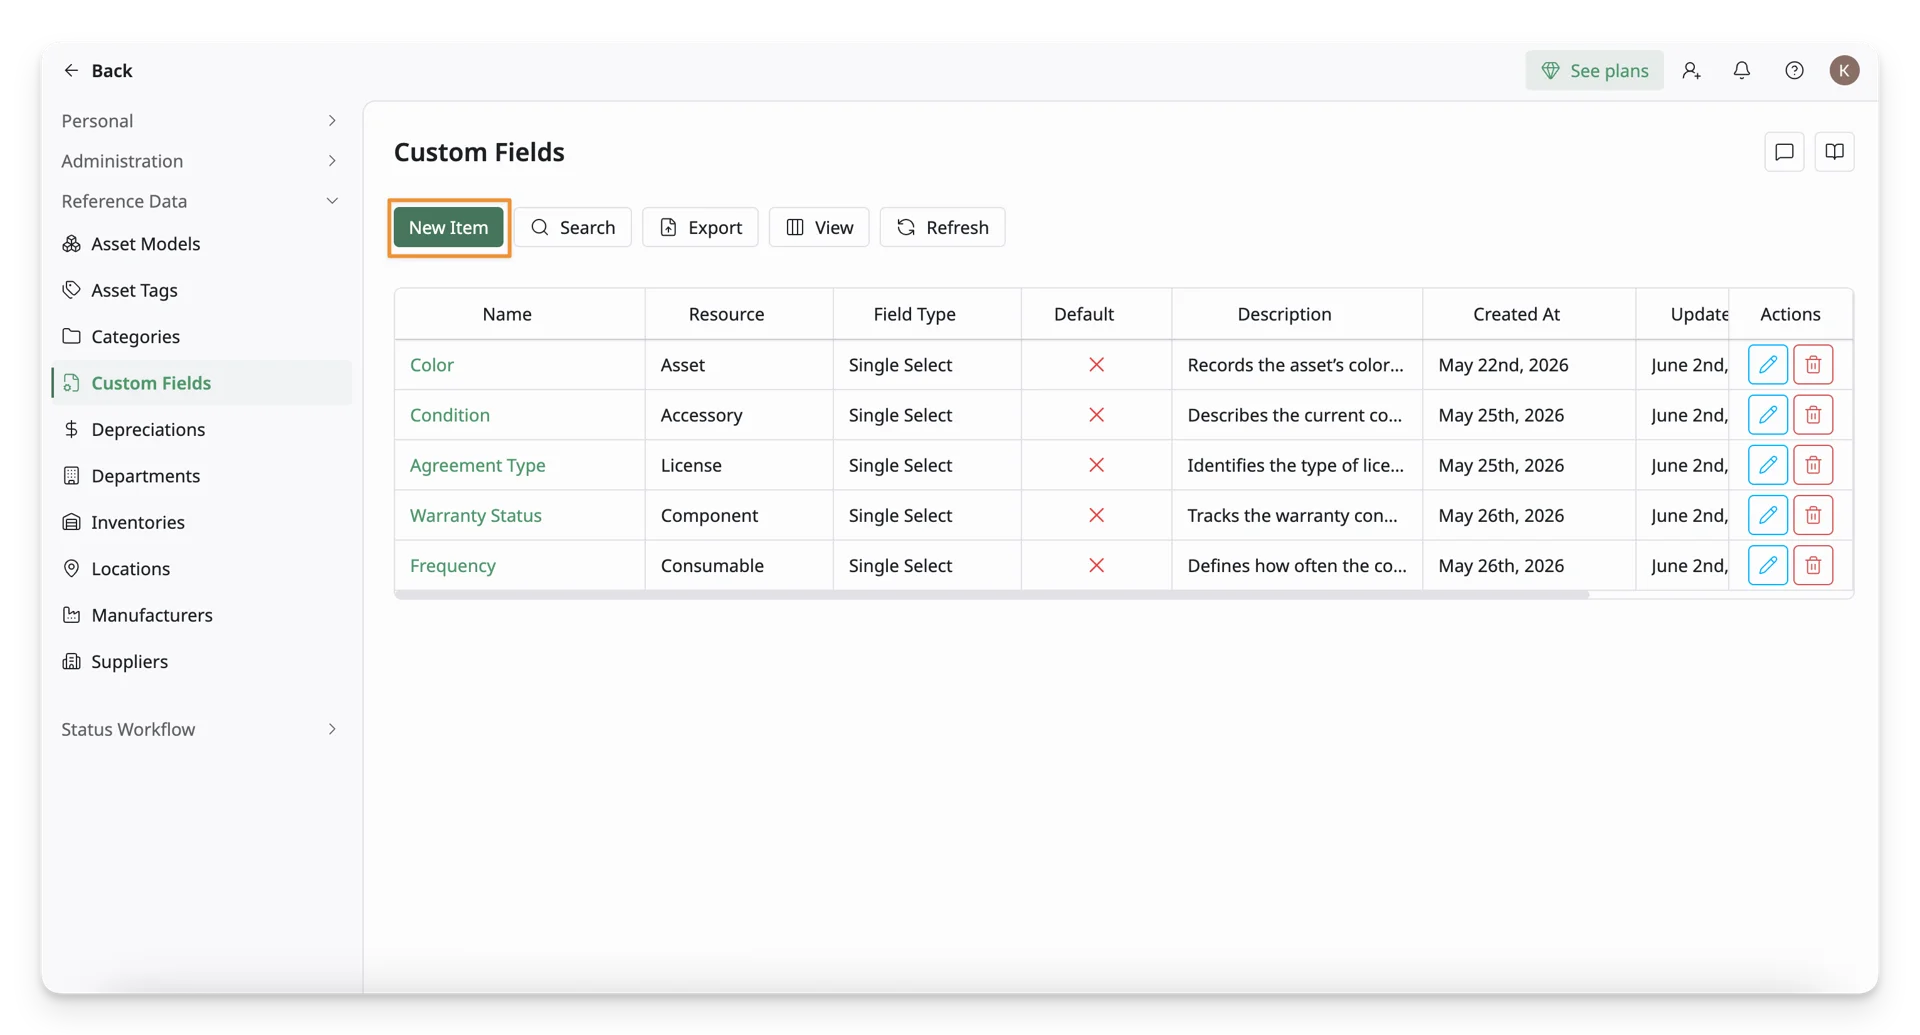
Click the “New Item” button to open the Custom Field Form.
Now you can fill in the Custom Field Form. Below are some key fields:
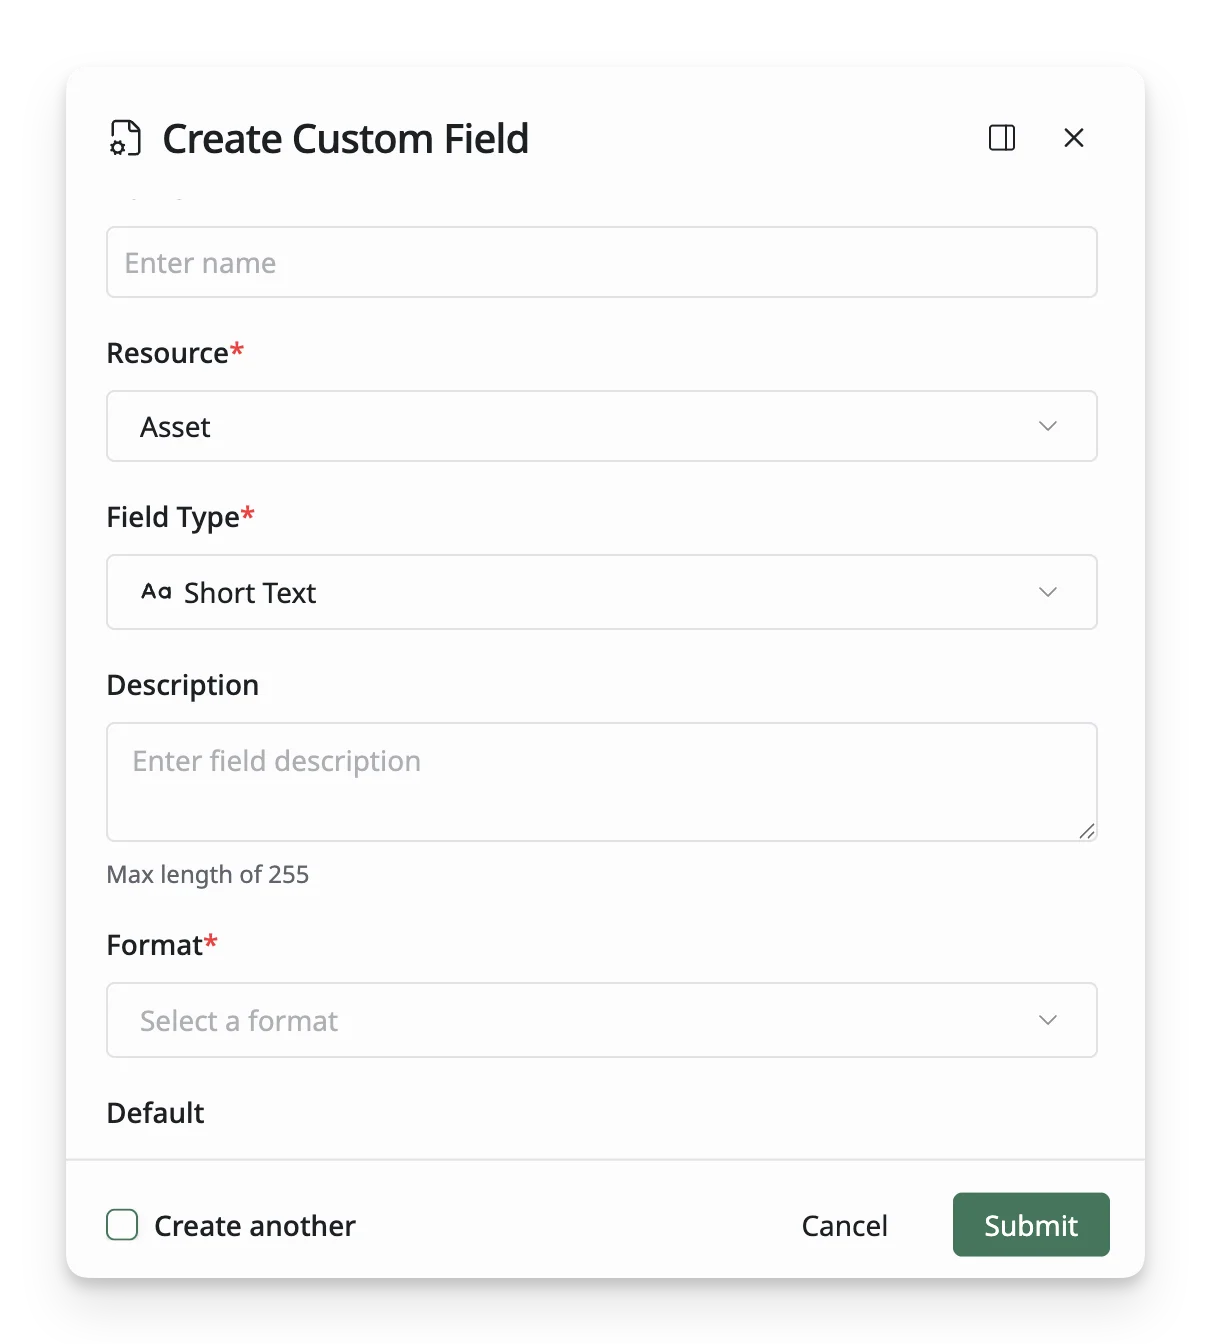
Name: Name the custom fields
Resource: Define where this custom field will be applied (Asset, Accessory, License, Component, or Consumable).
Description: Additional information that explains the purpose of this custom field or how it should be used.
Default: Marks this custom field as the default for the selected resource. It becomes the default field when you open the resource creation form.
Field Type: Select the input format for this custom field. AssetLoom supports you with 5 main field types:
- Short Text: Enter a brief text value, such as a code, label, serial reference, or short note.
- Paragraph: Add longer text, such as detailed remarks, instructions, conditions, or internal notes.
- Single Select: Choose one option from a predefined list to keep data consistent.
- Date: Select a date, such as warranty expiry, review date, renewal date, or inspection date.
- Checkbox: Mark a simple yes/no value to make a binary choice.
Step 3: Save The Custom Fields
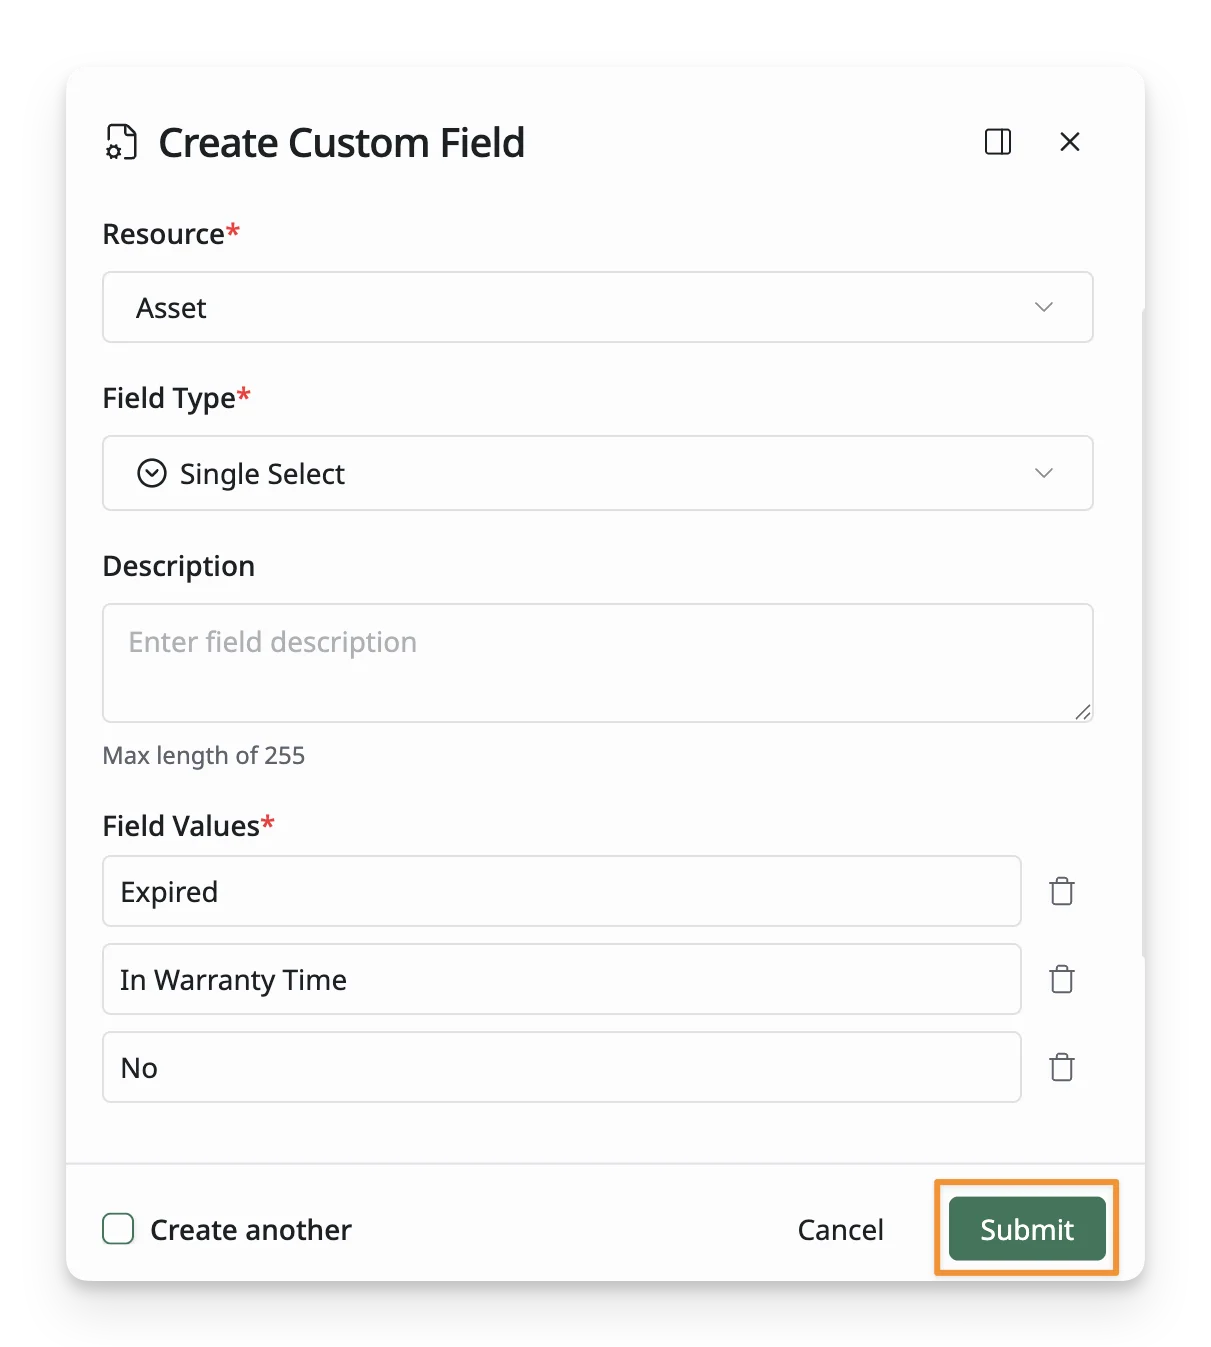
Once all required fields are filled, click the Create button at the bottom of the form to save the custom field to the system.
Step 4: Review Your Custom Fields
After creating the custom fields, you will be redirected to the Custom Field List, where you can view and manage all your custom fields. If any information needs to be updated, simply click on the custom fields and modify the details as needed.
3. Field Format & Data Validation
Field Format:
Field Format is only applicable to the “Short Text” Field.
| Field Format | Description |
|---|---|
ANY | Any text is acceptable. |
ALPHA | The field under validation must be entirely alphabetic characters. |
ALPHA-DASH | The field under validation may have alpha-numeric characters, as well as dashes and underscores. |
NUMERIC | The field under validation must be numeric and limited to 9 numbers. |
ALPHA-NUMERIC | The field under validation must be entirely alpha-numeric characters. |
EMAIL | The field under validation must be formatted as an e-mail address. |
URL | The field under validation must be a valid URL. |
IP-ADDRESS | The field under validation must be an IP address. |
IPV4-ADDRESS | The field under validation must be an IPv4 address. |
IPV6-ADDRESS | The field under validation must be an IPv6 address. |
MAC-ADDRESS | The field under validation must be a valid MAC address. |
BOOLEAN | The field under validation must be able to be cast as a boolean. Accepted inputs are true, false, 1, 0, “1”, and “0”. |
CUSTOM | This field allows you to use a regex expression for validation. It should start with regex: - for example, to validate that a custom field value contains a valid IMEI (15 numeric digits), you would use regex:/^[0-9]{15}$/. |
Data Validation:
| Field Type | When To Use | Validation Rule |
|---|---|---|
| Short Text | Use for brief values such as numbers, asset codes, employee IDs, labels, or short notes. | Max 255 characters |
| Paragraph | Use for longer details such as descriptions, remarks, instructions, conditions, or internal notes. | Max 2048 characters |
| Single Select | Use when users should choose one value from a fixed list, such as condition, warranty status, agreement type, or frequency. | Max 255 characters for each field value Unique options only |
| Date | Use for date-based information such as warranty expiry, renewal date, inspection date, purchase date, or review date. | Date & Time format only |
| Checkbox | Use for simple yes/no or enabled/disabled values, such as verified, approved, required, or assigned. | Max 255 characters for each field value Unique options only |
4. Actions With Custom Field List
After creating the custom fields, you can perform some actions with the list:
- Edit: Update the Custom Field’s details
- Delete: Remove a Custom Field that is no longer needed.