Configure Scan Options
Learn how to configure scan settings, define allowed network ranges, choose discovery protocols, set TCP ports, and control scan limits before running AssetLoom Network Scanner.
Configure Scan Options
Open the Configuration File
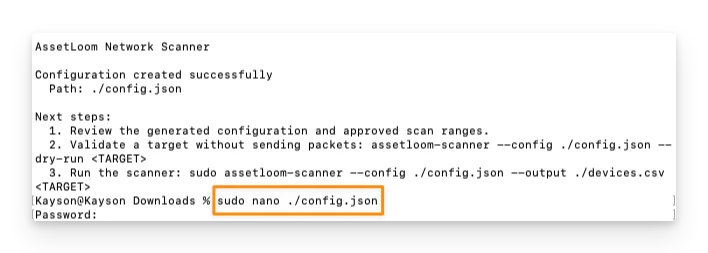
After creating a config.json, you need to open it with a text editor on your device. Because the file is owned by the designated system user, opening it without admin permissions will result in a permission error.
- For macOS and Linux, open the configuration file with Nano and use
sudo:
sudo nano ./config.json
- For Windows, open the configuration file with Notepad:
notepad .\config.json
Once you have opened the file, you can view the default settings as shown here.
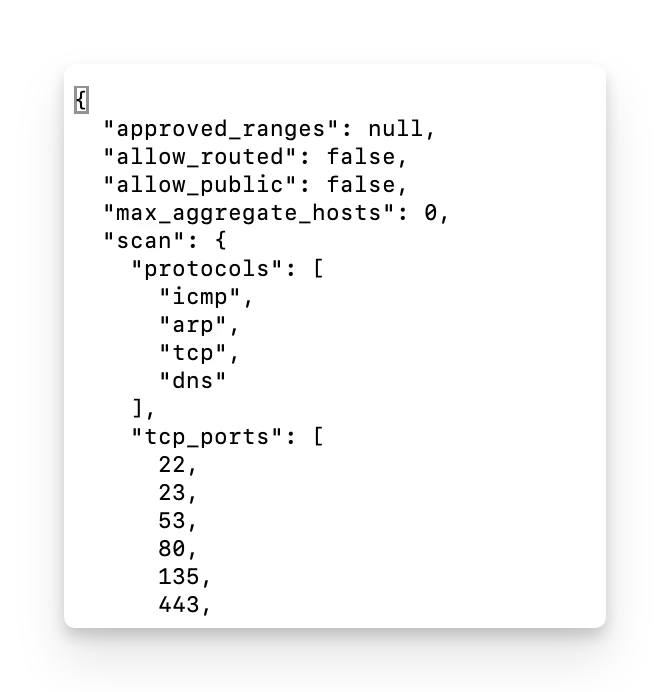
In this example, the scanner can scan local private IPv4 networks connected to your computer. Routed and public networks are not allowed.
Limit Scanning to a Specific Network
Next, you need to decide which network or IP range the scanner is allowed to scan.
approved_ranges defines the network ranges that the scanner is permitted to scan. You can use it to set a clear boundary so the scanner only accepts targets within the networks you have authorized.
To authorize a network for scanning, add the target IP range to approved_ranges in CIDR format:
"approved_ranges": ["cidr"]
For example, if you want to scan the IP range 192.168.1.0/24, use:
"approved_ranges": ["192.168.1.0/24"]
If you do not want to set any network restrictions, leave it as null, which is the default:
"approved_ranges": null
Allow Routed Private Networks
allow_routed controls whether the scanner can scan private networks that are not directly connected to your computer, such as networks reached through a router or VPN.
You can set allow_routed to true or false to enable or disable it.
"allow_routed": true
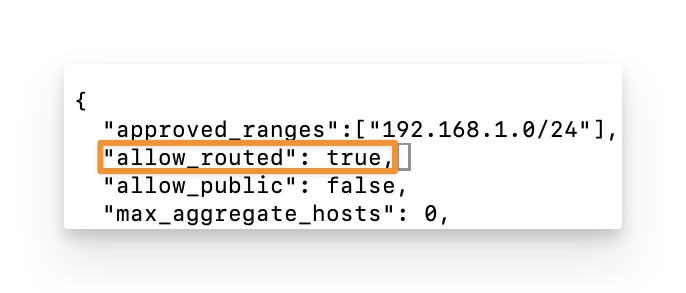
true— allows scanning of routed private networks.false— limits scanning to directly connected private networks.
Allow Public Ranges
allow_public controls whether the scanner can scan public IP ranges.
Use true only when you have explicit authorization to scan that public range. If public scanning is not needed, keep it disabled.
"allow_public": false
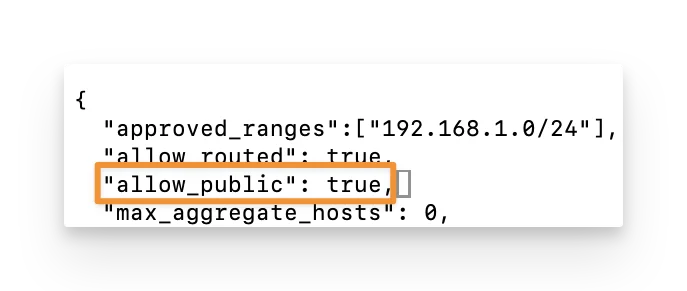
For better control, you can also add the specific public range to approved_ranges. This limits the scanner to only the addresses you intend to scan.
Aggregate Host Limit
max_aggregate_hosts controls the maximum number of IP addresses the scanner can include in a single scan.
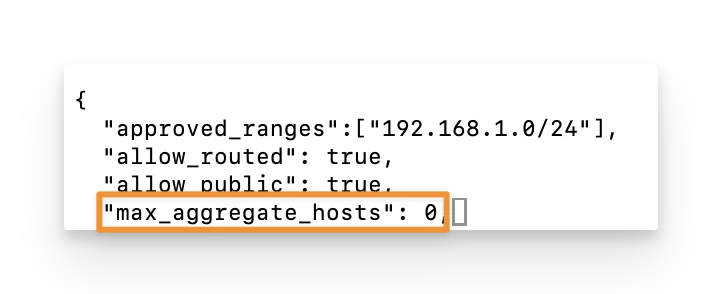
By default, the value of 0 uses the scanner’s built-in default limit of 65,536 hosts.
"max_aggregate_hosts": 0
If you need to run a larger approved scan, you can increase the value.
The maximum supported value is 1,048,576 hosts. Values above this limit are automatically reduced to the maximum.
Customize Discovery Methods/Protocols
By default, AssetLoom Network Scanner uses four network discovery methods:
| Protocol | Purpose | When to Use |
|---|---|---|
icmp | Checks whether a device responds to ping and collects RTT/TTL information. | Use it to quickly check whether devices are online and responding to ping. |
arp | Discovers MAC addresses on the local Layer 2 network. | Use it when devices on your local network are missing from ping results, or when you need MAC addresses for identification. |
tcp | Checks configured TCP ports to find reachable devices and open services. | Use it when ping does not find a device, or when you need additional network evidence to help identify the device or the services it provides. |
dns | Looks up device hostnames using PTR, NetBIOS, and mDNS. | Use it when IP addresses alone are not meaningful and you need hostnames to recognize devices more easily. |
The default configuration enables all four protocols. If you do not want to use a discovery method, remove it from the scan.protocols list.
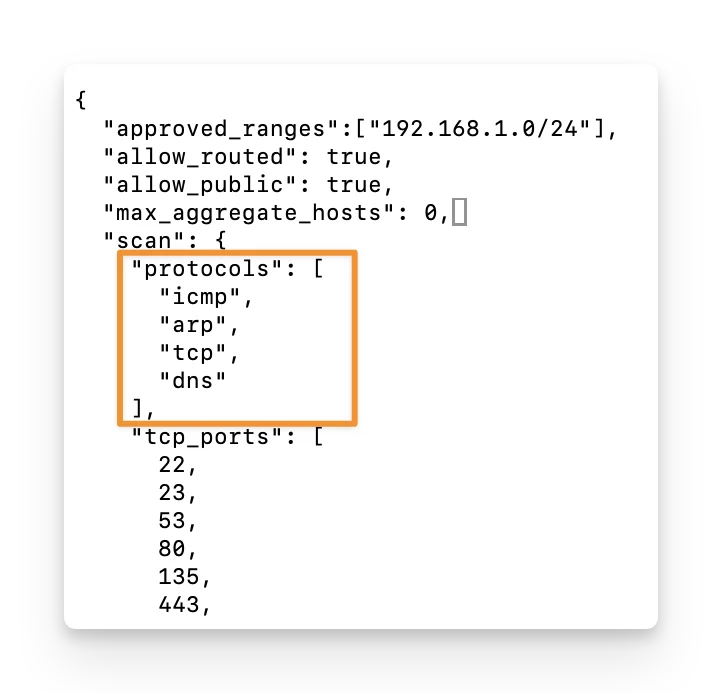
Unknown protocol names that do not match the currently available protocols will cause configuration validation to fail. This prevents silent misconfiguration.
Customize TCP Ports
The scanner checks a predefined list of TCP ports to help identify common devices and services, including web servers, Windows devices, printers, SSH servers, and other network-connected systems.
By default, AssetLoom scans the following ports:
| Port | Common Use |
|---|---|
22 | SSH, commonly used for remote access to Linux/Unix systems |
23 | Telnet remote access |
53 | DNS, used for domain name and hostname resolution |
80 | HTTP web services |
135 | Microsoft RPC Endpoint Mapper, commonly used by Windows systems and services |
443 | HTTPS secure web services |
445 | SMB file and printer sharing, commonly seen on Windows devices |
1883 | MQTT messaging, commonly used by IoT devices |
3389 | Remote Desktop Protocol (RDP), commonly used for Windows remote access |
5900 | VNC / Remote Framebuffer remote desktop services |
8080 | Alternative HTTP or web application services |
8443 | Alternative HTTPS or secure web application services |
9100 | Network printer/print data services |
48899 | Vendor-specific or IoT device services; usage varies by device |
You can remove or add other ports to the tcp_ports list to focus on a specific scan.
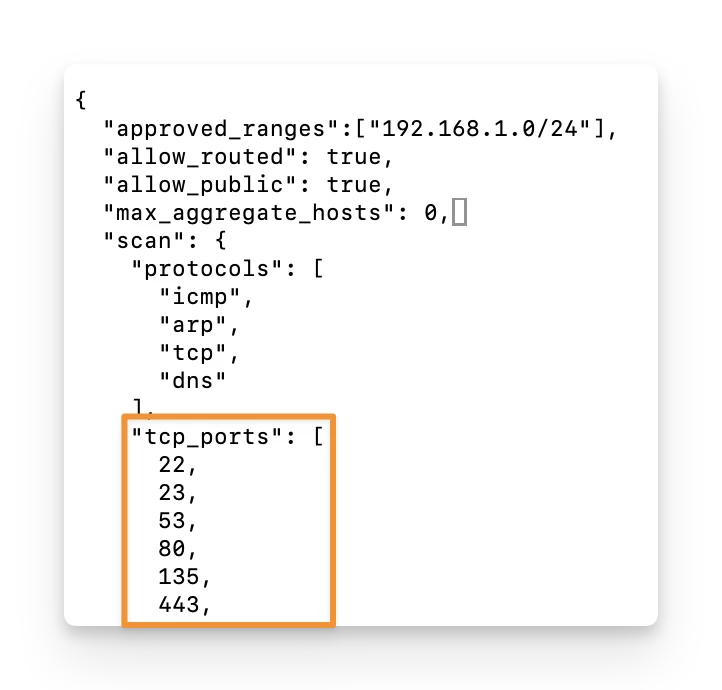
When you customize tcp_ports, the scanner checks the values before running:
- Valid range: TCP ports must be between
1and65535. - Duplicate ports: Duplicate values are automatically removed.
- Invalid ports: Values outside the valid range are ignored.
- No valid ports: If all configured ports are invalid, the scan stops and returns an error instead of using the default port list.
You can explore other advanced scan options such as timeout, concurrency, and ping limit in the Configuration Reference.
Save & Close the Text Editor
After updating your scan settings, save the config.json file before continuing. The steps depend on the text editor you are using.
In Nano:
Ctrl + O= Write Out, which means save the fileEnter= confirm the filenameCtrl + X= exit Nano
In Windows Notepad:
Ctrl + S= save the file- You can then close Notepad normally
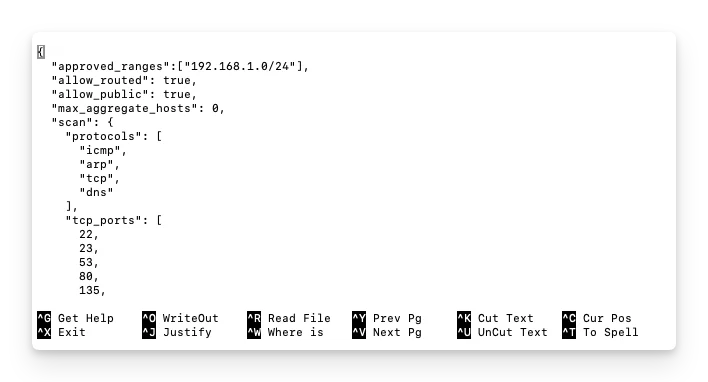
Once the file is saved, your scanner settings are ready for the next step: Run a Dry Run.