Asset Tags
Learn how to manage Asset Tags as one type of reference data
1. What Are Asset Tags
Asset Tags are one type of reference data that act as a unique identifier used to distinguish and track each asset in AssetLoom. You can create multiple Asset Tag formats for different asset types, departments, or tracking needs.
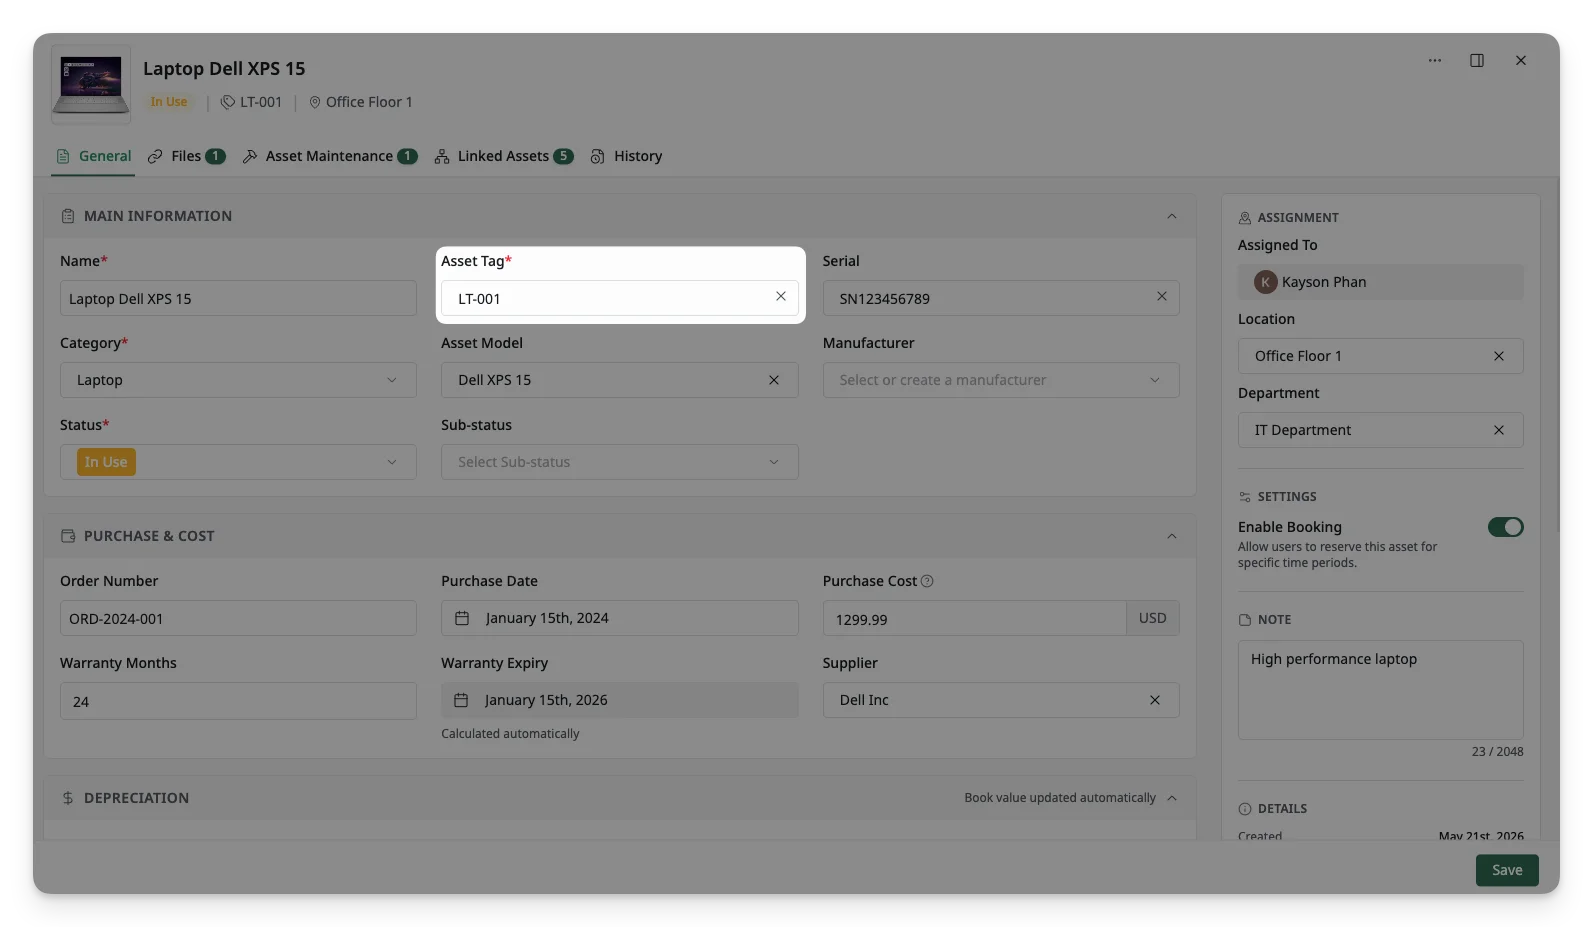
By setting up Asset Tags, you can:
- Track assets with unique identifiers in AssetLoom to search for assets more effectively.
- Organize different asset types with customizable tag formats.
- Enable auto-incrementing Asset Tags to automatically create unique tags for new assets, whether you manually create or bulk import assets.
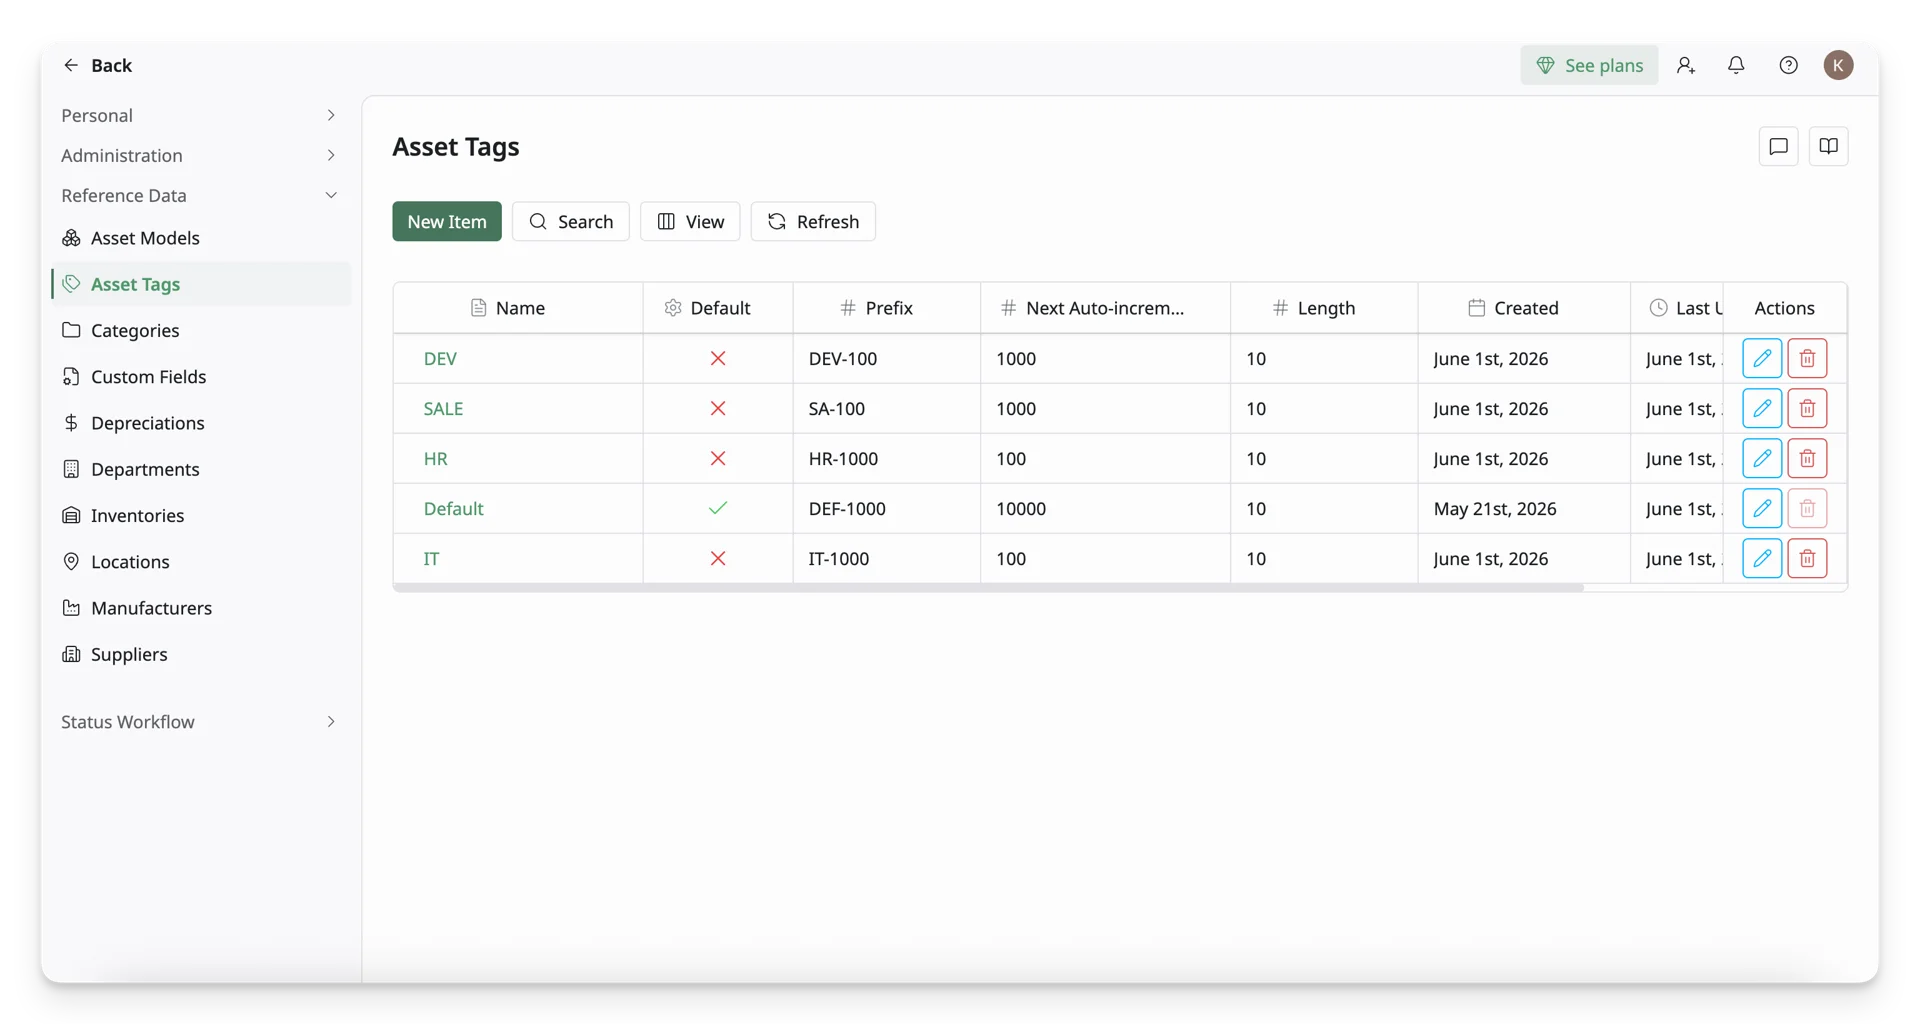
The Asset Tag is located under the Reference Data section in the Personal Settings page. This page displays all asset tags in the system and serves as the central place for managing them.
2. How To Set Up Asset Tags
Step 1: Navigate To The Asset Tags Screen
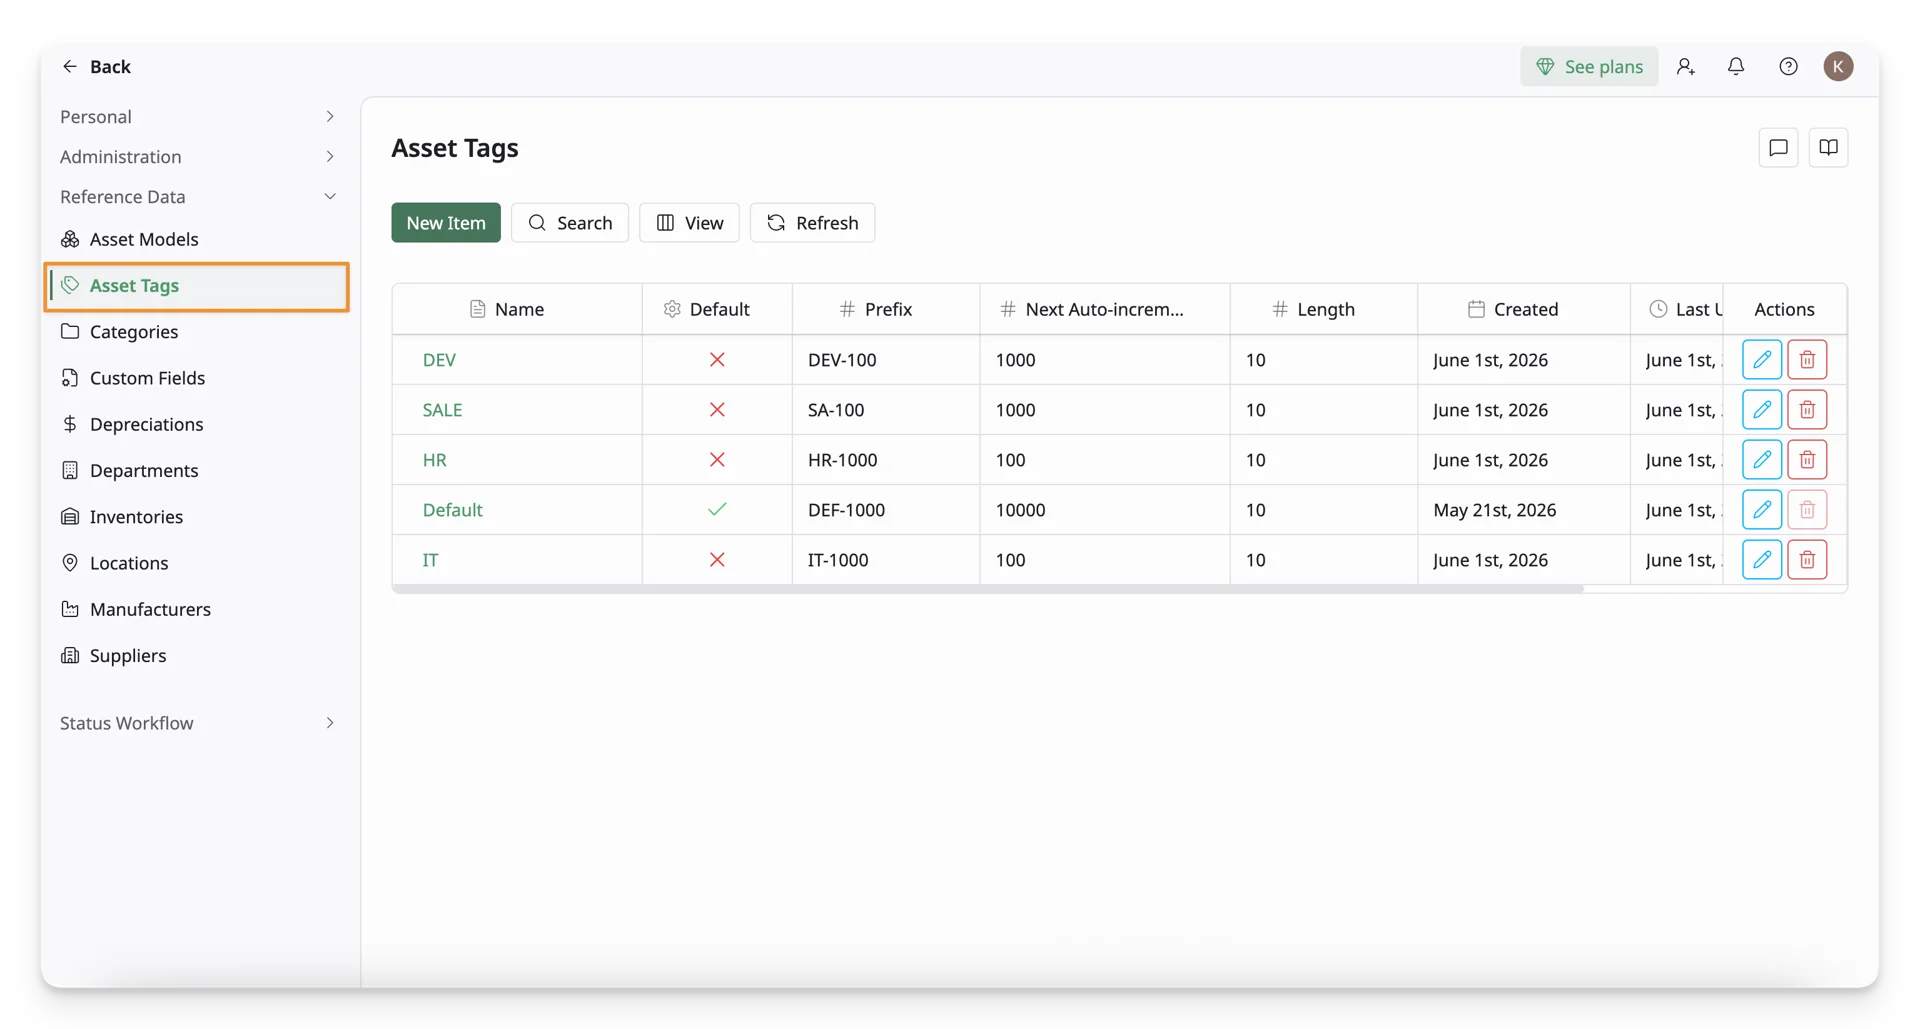
Select the Reference Data in the Configure section on the left-hand side menu sidebar.
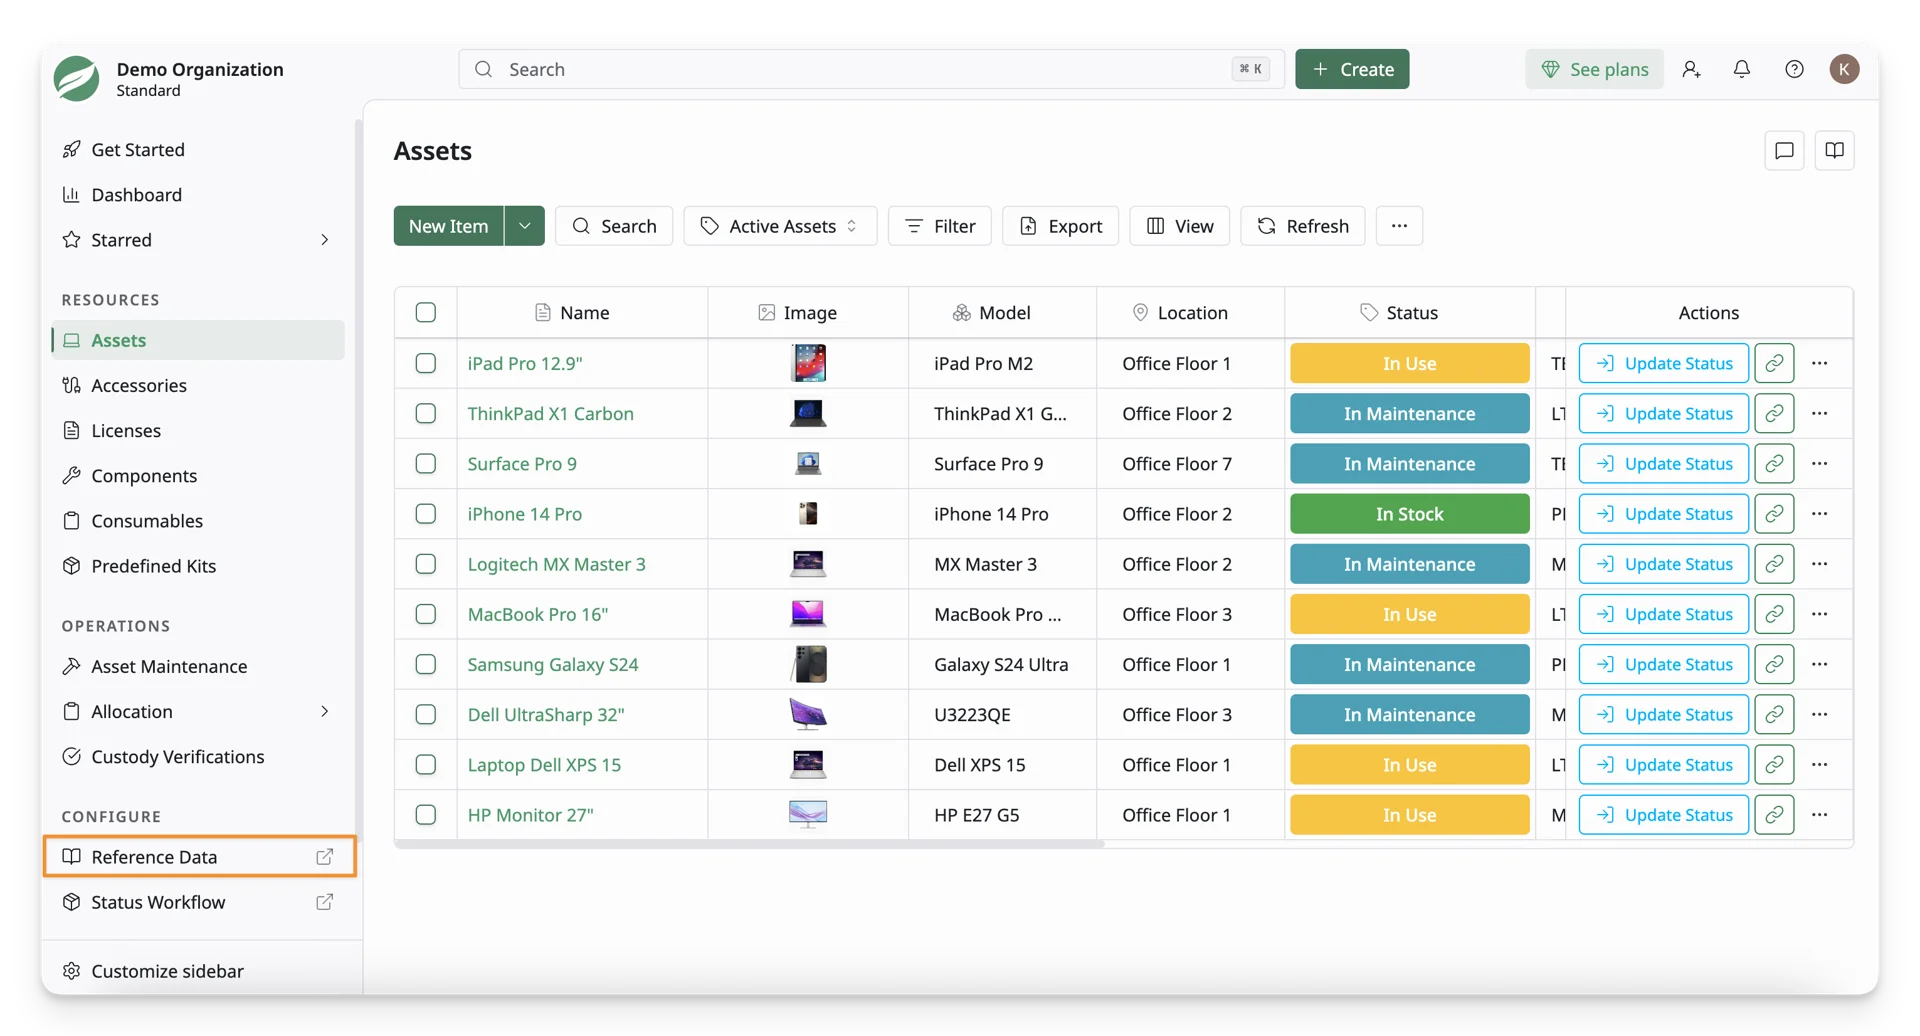
On the left menu sidebar, you can view the Asset Tags under the Reference Data.
Step 2: Fill In The Asset Tag Form
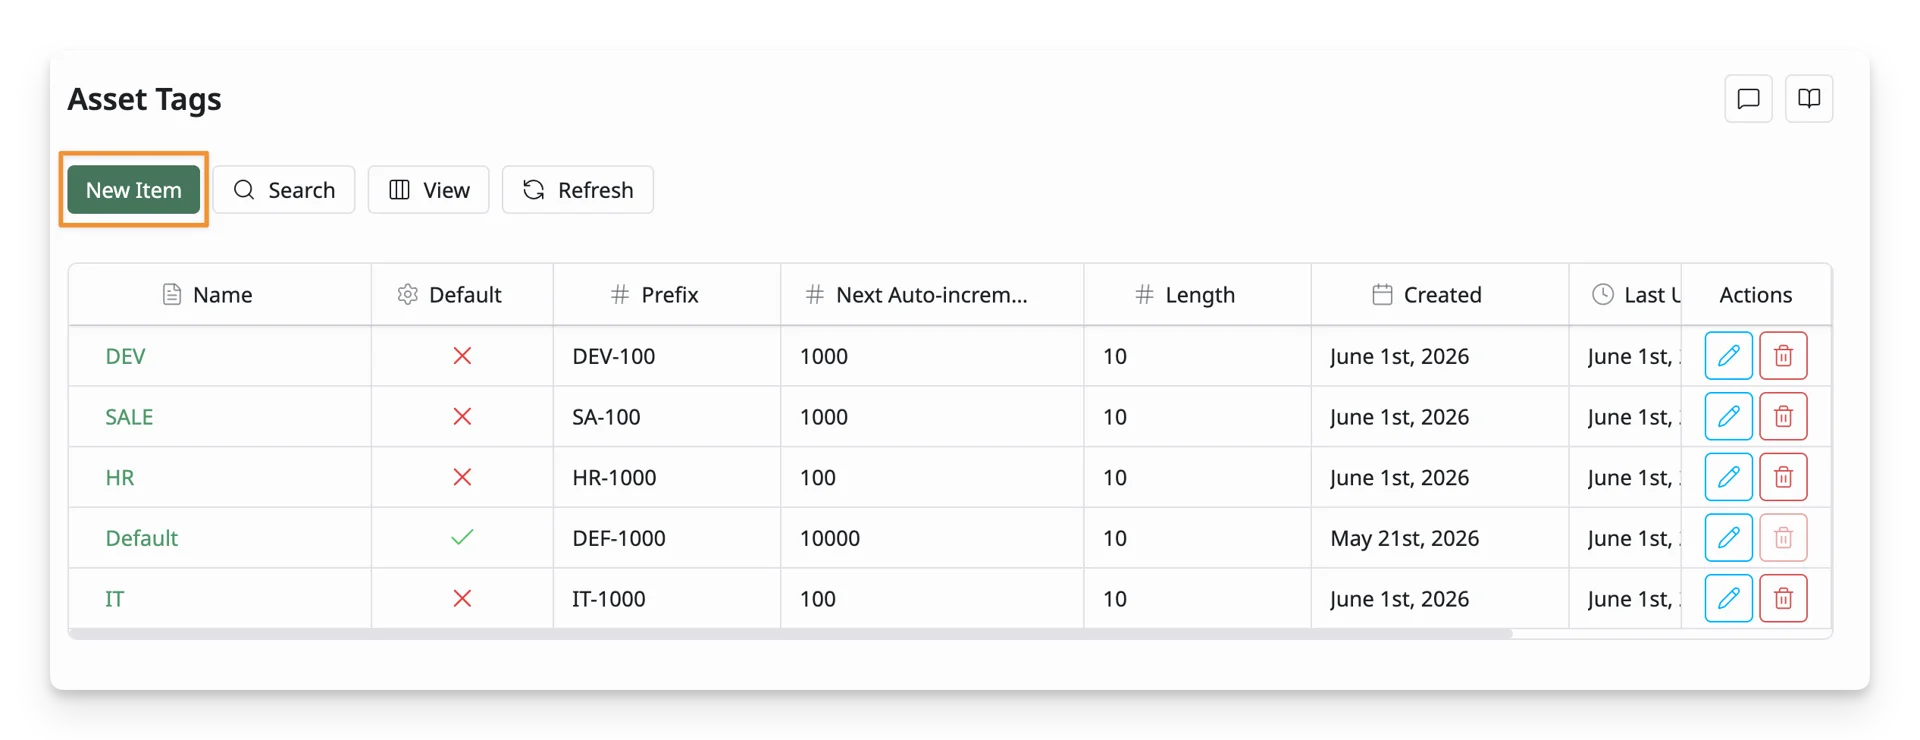
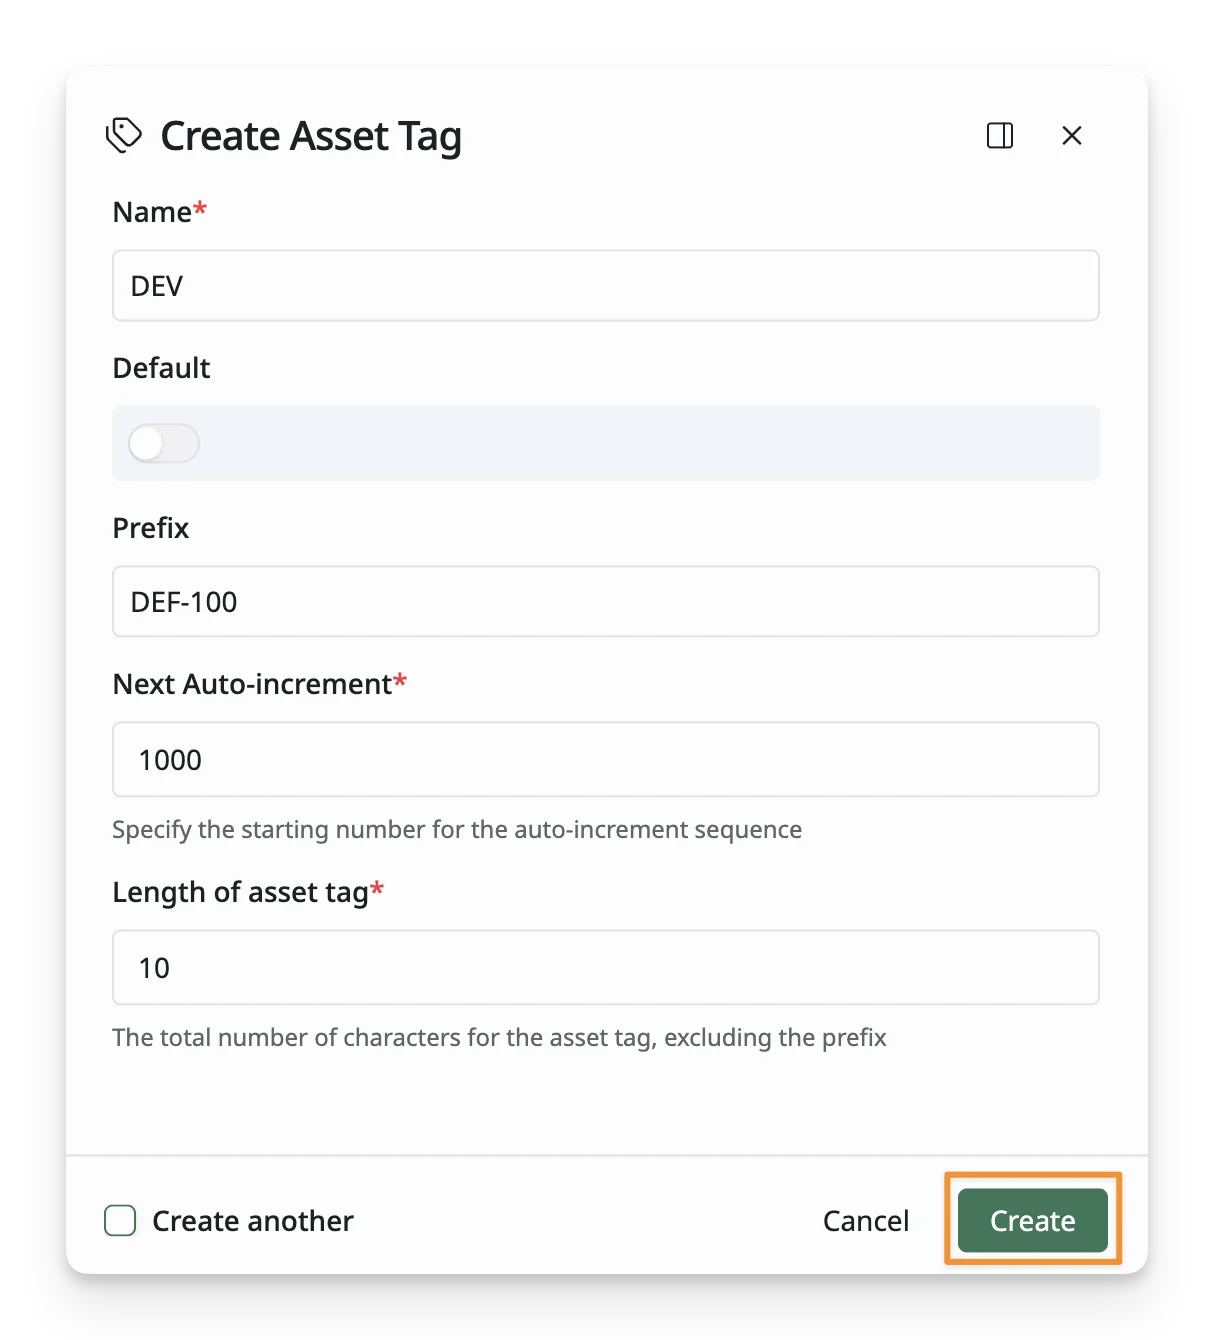
Click the “New Item” button to open the Asset Tag Form
Now you can fill in the Asset Tag Form. Below are some key fields:
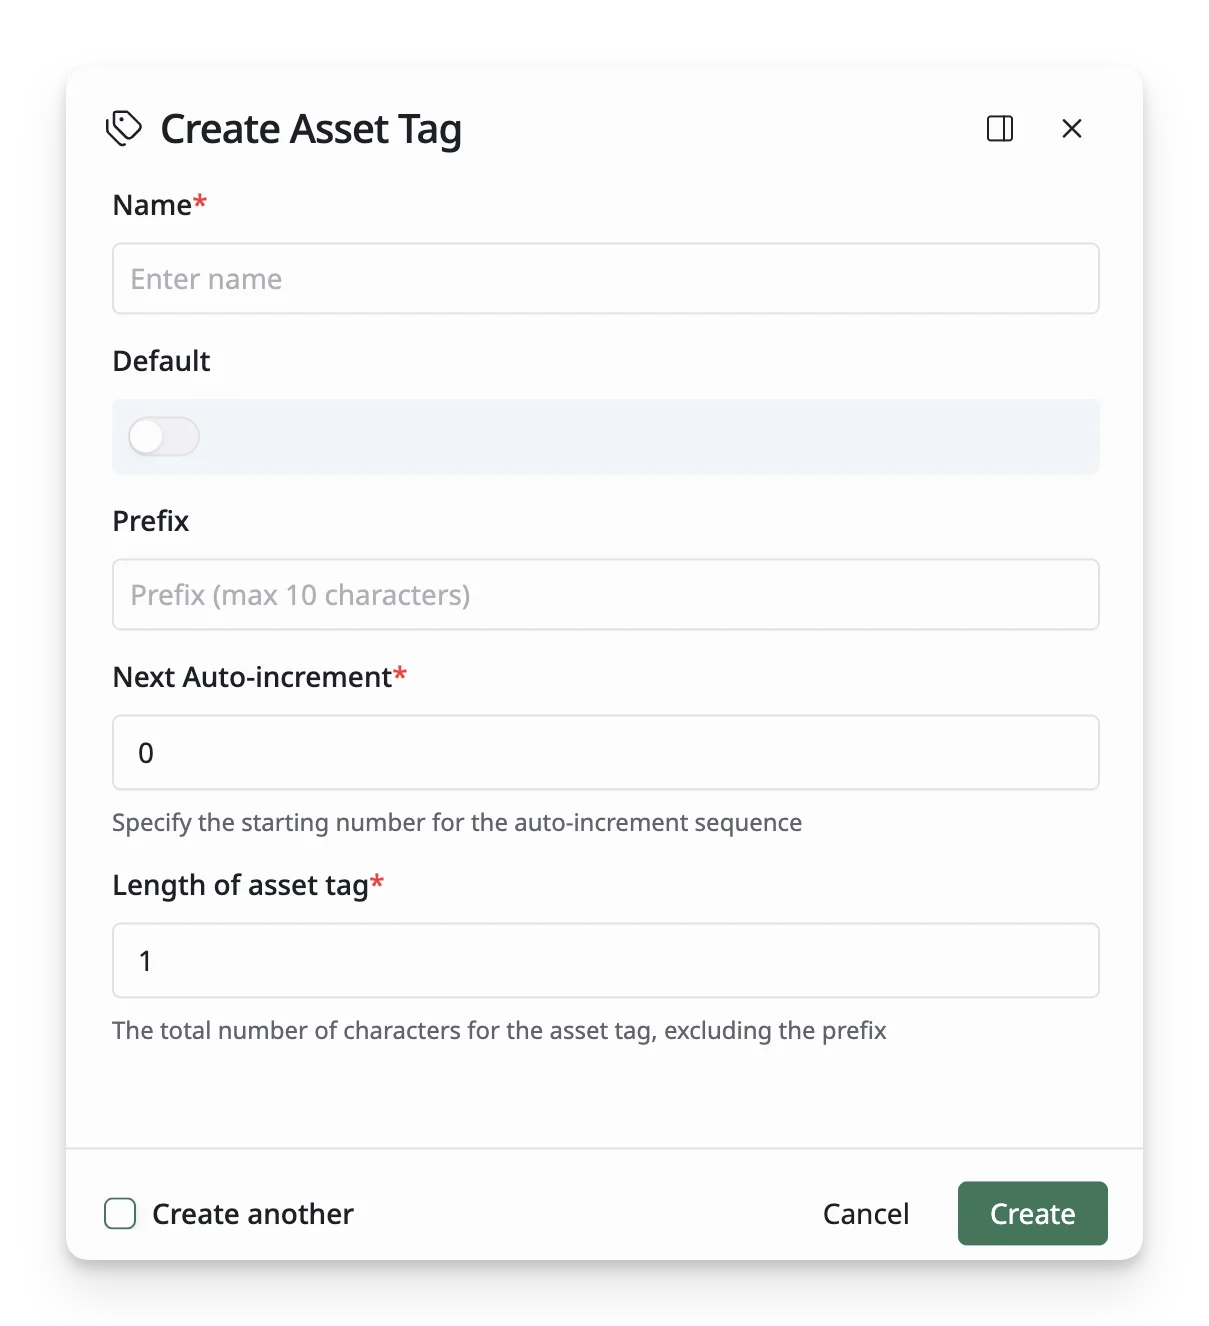
- Name: The name used to identify this Asset Tag format, such as IT, DEV, etc
- Default: Tick/untick to identify if this tag configuration is the default setting for the next auto-incrementing tag.
If no tag format is selected, AssetLoom will automatically generate the asset tag using the default format. You can set up 1 Default Asset Tag only.
- Prefix: Enter text or code added before the auto-generated number, such as IT-, DEV-, or HR-.
- Next Auto-Increment: Specify the starting number that will be used when generating a new Asset Tag. For example, if you set it to 100, the first asset tag generated under this format will include 100 in its sequence.
- Length of Asset Tag: Set the total number of characters or digits used for the generated Asset Tag.
Step 3: Save The Asset Tags
Once all required fields are filled, click the Create button at the bottom of the form to save the asset tag to the system.
Step 4: Review Your Asset Tag
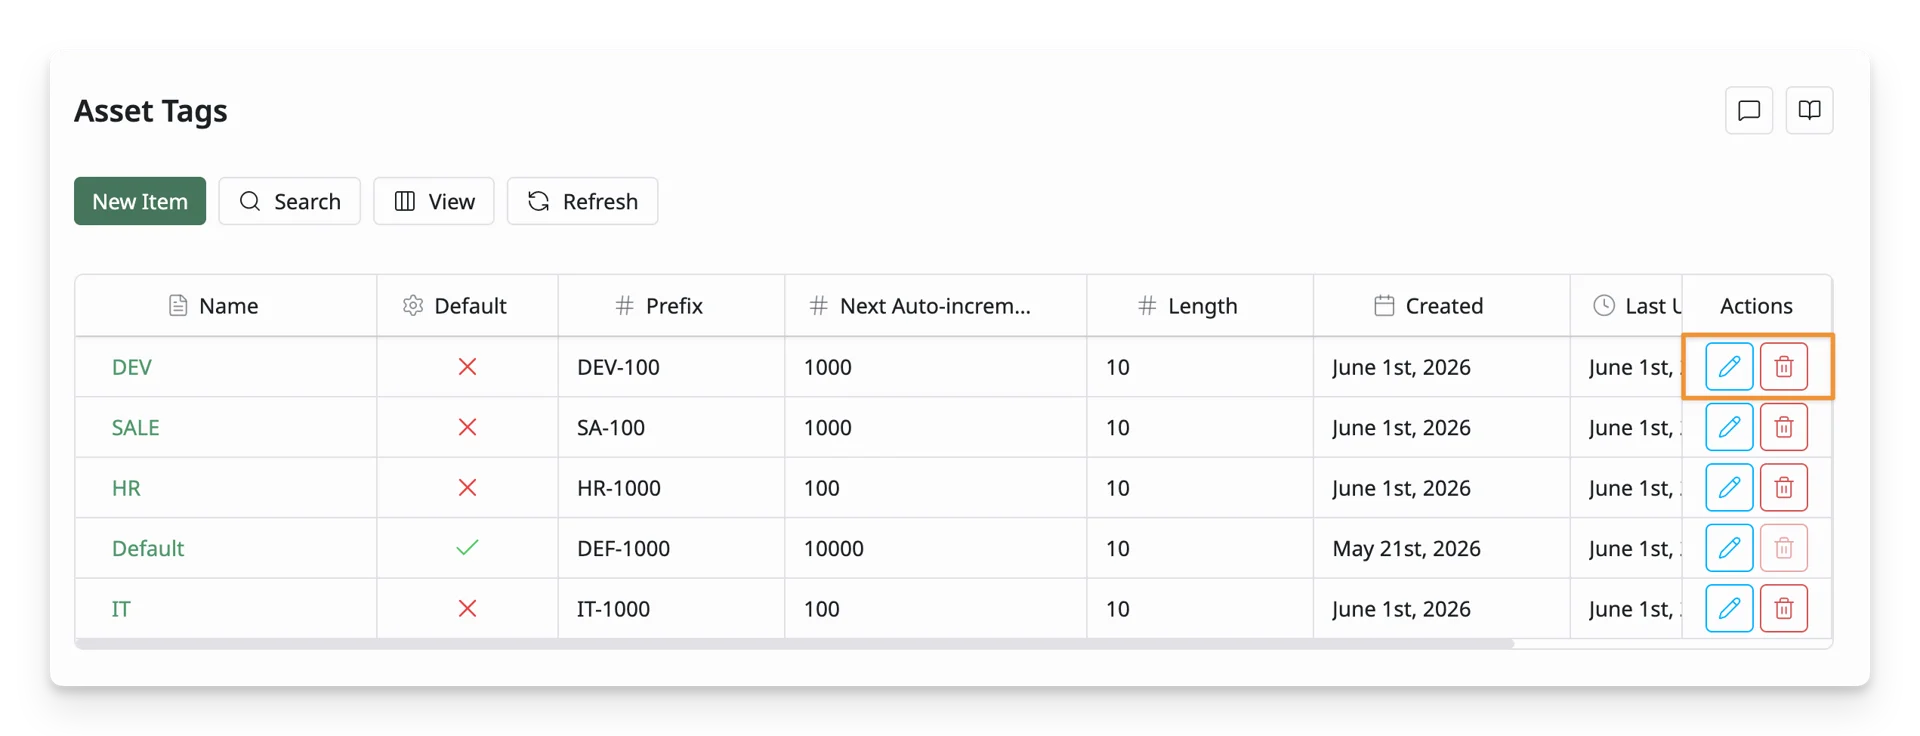
After creating the tag format, you will be redirected to the Asset Tag List, where you can view and manage all your tags. If any information needs to be updated, simply click on the asset tag and modify the details as needed.
3. Actions With Asset Tag List
After creating the asset tags, you can perform some actions with the list:
- Edit: Update the Asset Tag’s details
- Delete: Remove an Asset Tag that is no longer needed. This action should only be used when the model is not required for future asset creation.
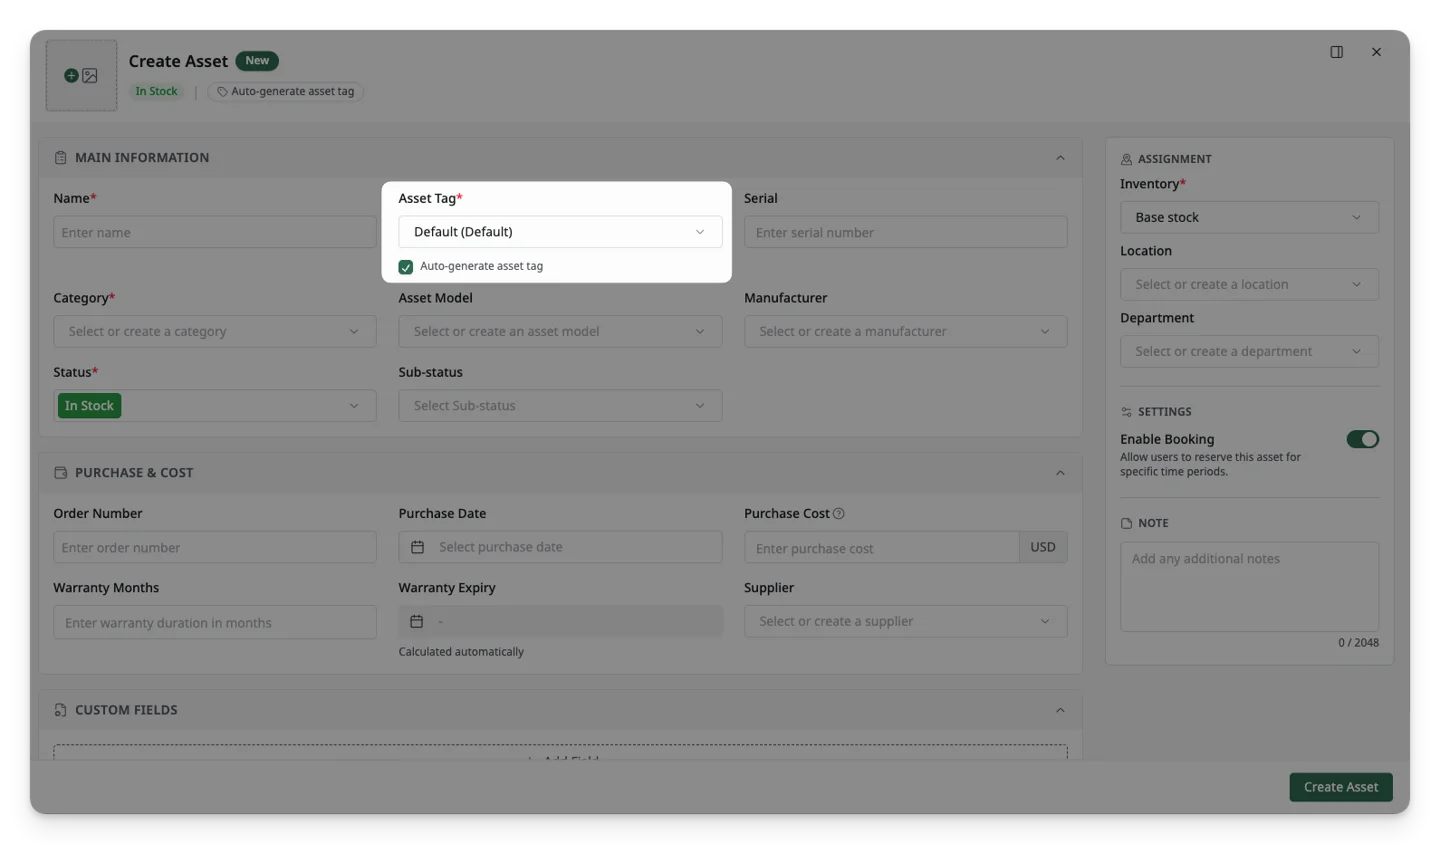
After preparing your Asset Tags, you can choose whether to enable or disable auto-generated Asset Tags when creating a new asset on the Asset Creation form.
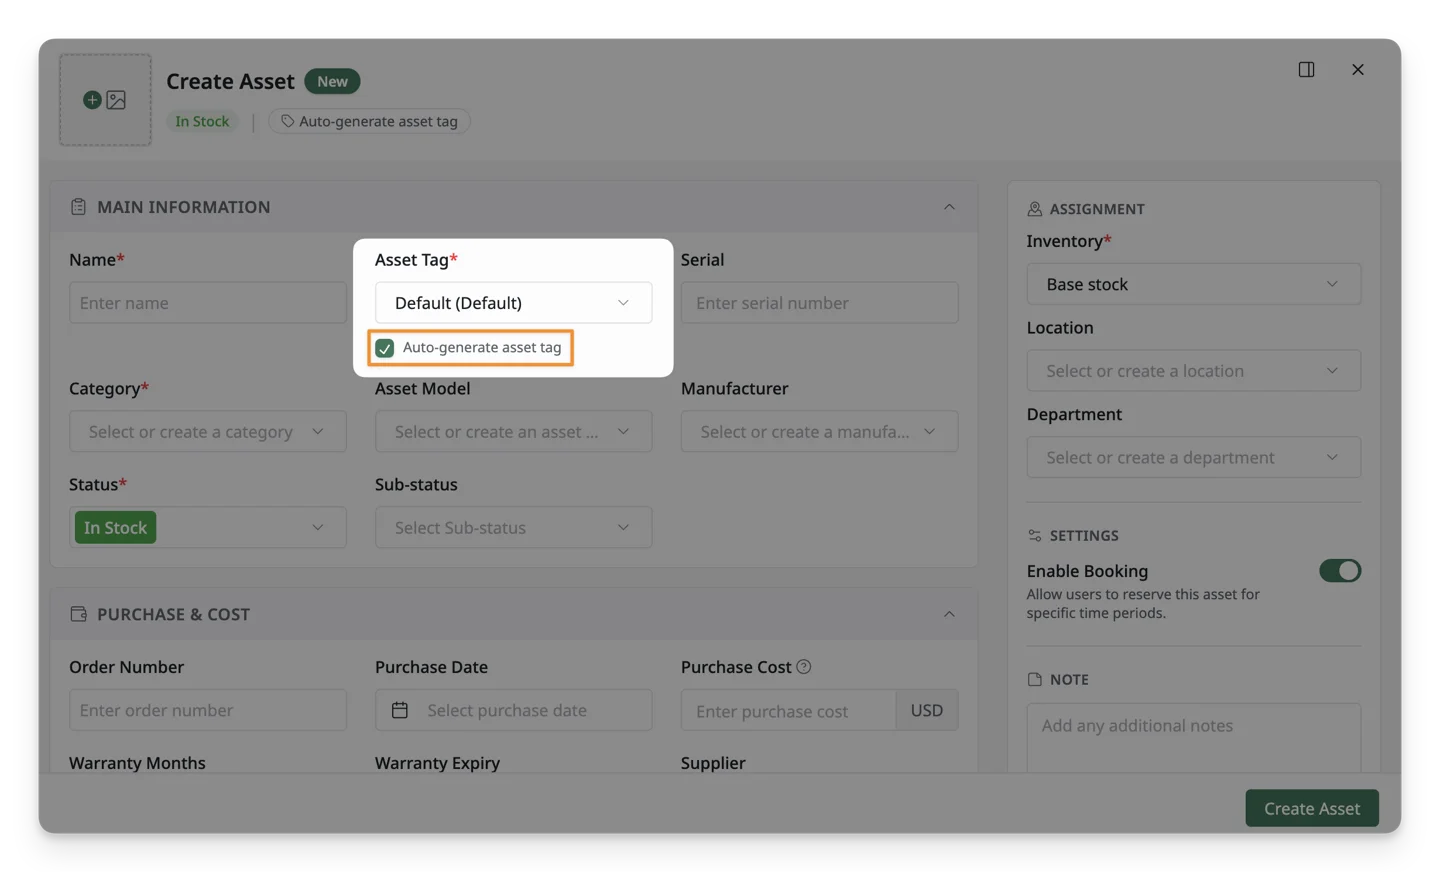
- Enabled: You can select the asset tag format you have set up in the dropdown, and AssetLoom automatically generates Asset Tags in sequential order.
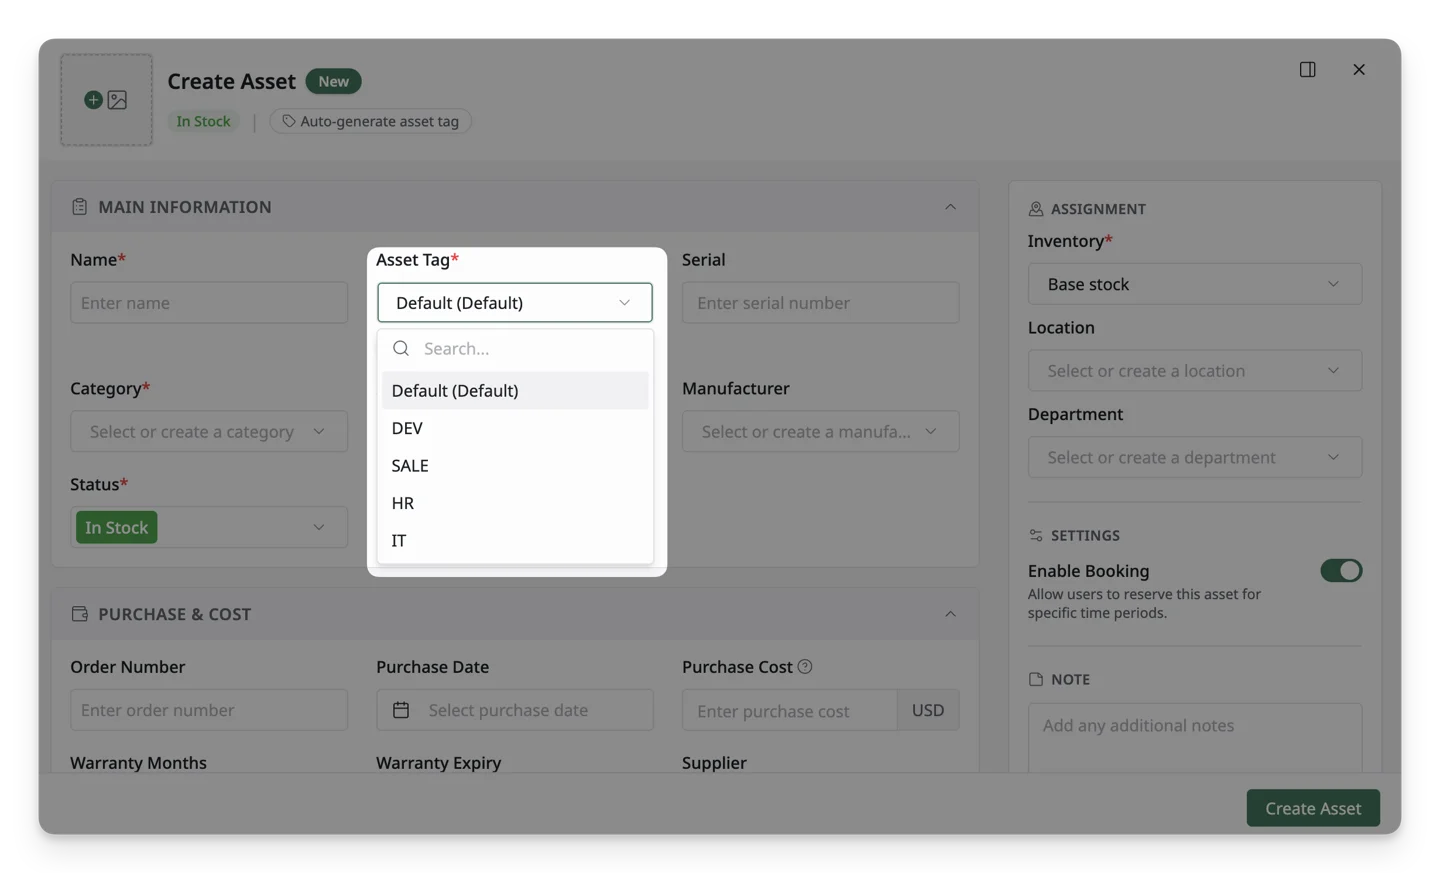
- Disabled: You need to manually enter an Asset Tag when creating a new asset.
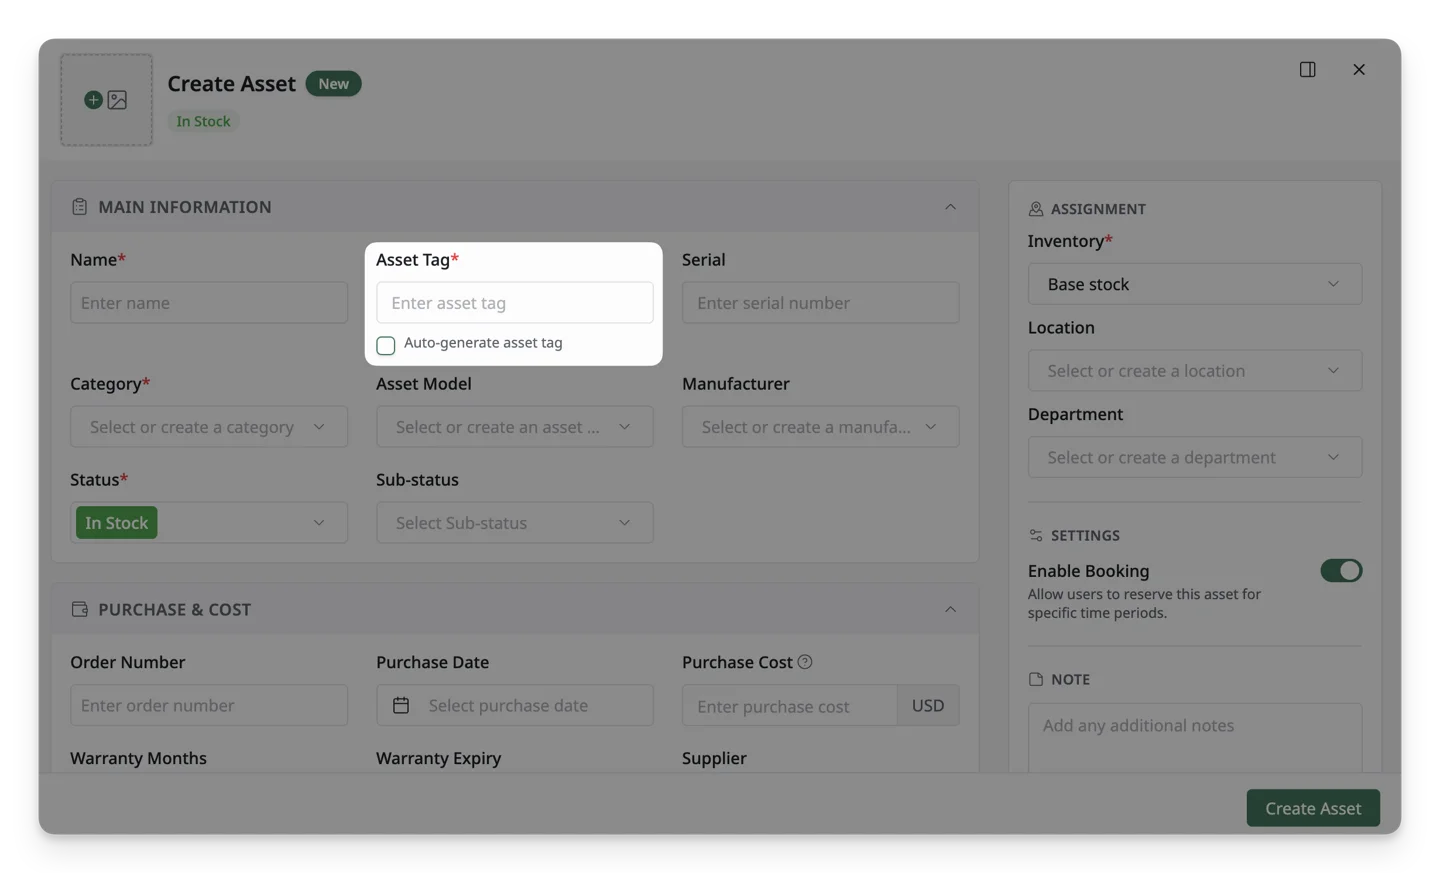
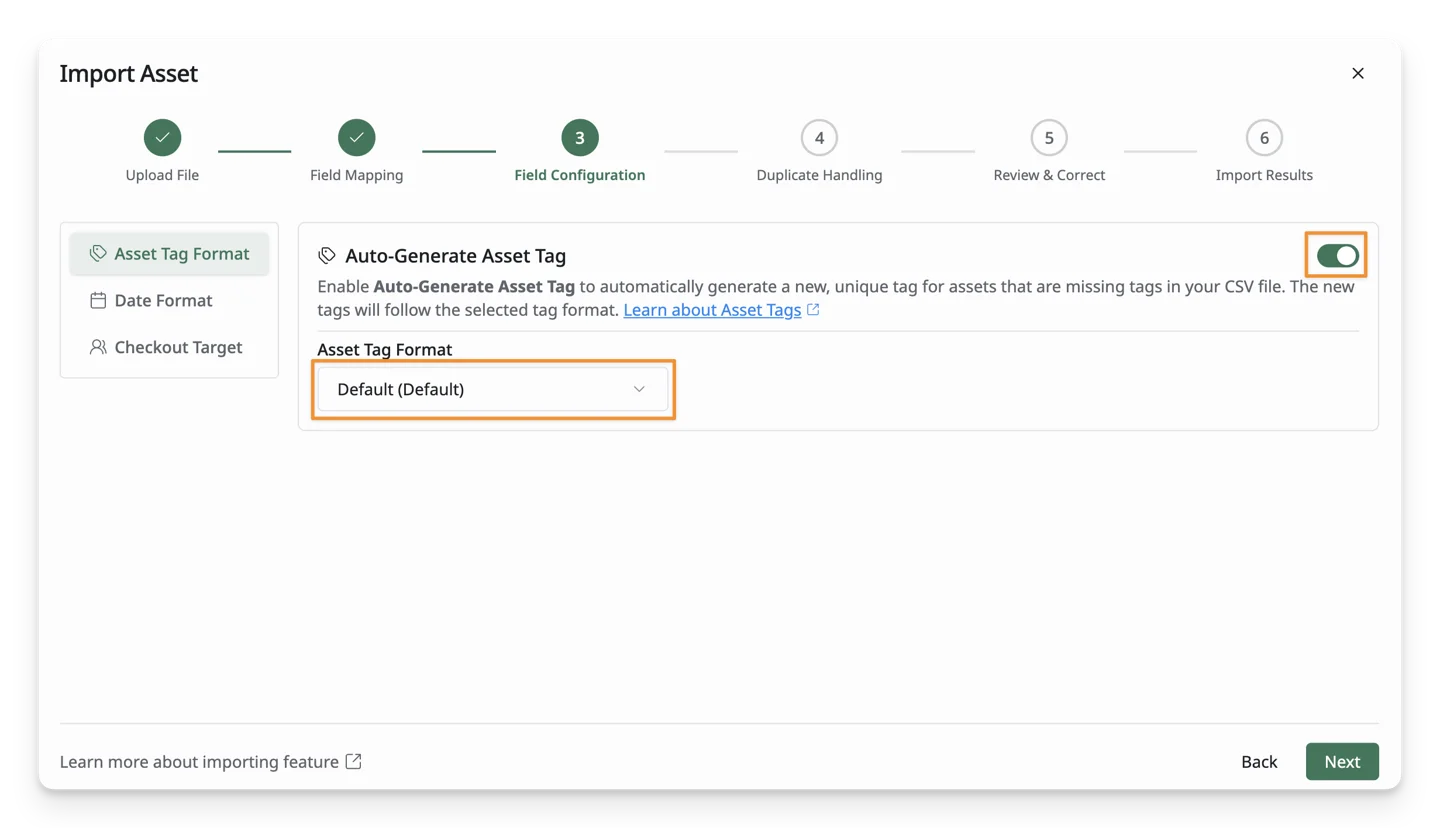
When importing new assets, you can enable the auto-generate asset tag button. Then select your prepared tag format so AssetLoom generates new tags for blank assets under that format.